Cutting LED Strip Lights: Your Guide to Safe Customization
Transform your room into a stunning light display! Cutting LED strip lights properly is the key to creating custom lighting designs that perfectly fit your space. Whether you’re adding ambiance to your gaming setup or brightening up your bedroom corners, these flexible light strips can be tailored to match any area – but only if you know the right cutting techniques.
Getting your LED strip lights cut correctly isn’t just about looks – it’s about safety and function too. With the right tools and knowledge, you’ll learn how to identify cutting points, make precise cuts, and reconnect strips without damaging the circuitry. We’ll guide you through choosing the proper scissors, finding the marked cutting lines, and ensuring your light strips maintain their bright, even glow after installation. Ready to become an LED lighting expert? Let’s dive into everything you need to know about customizing your LED strips!
Understanding LED Strip Light and Its Versatility
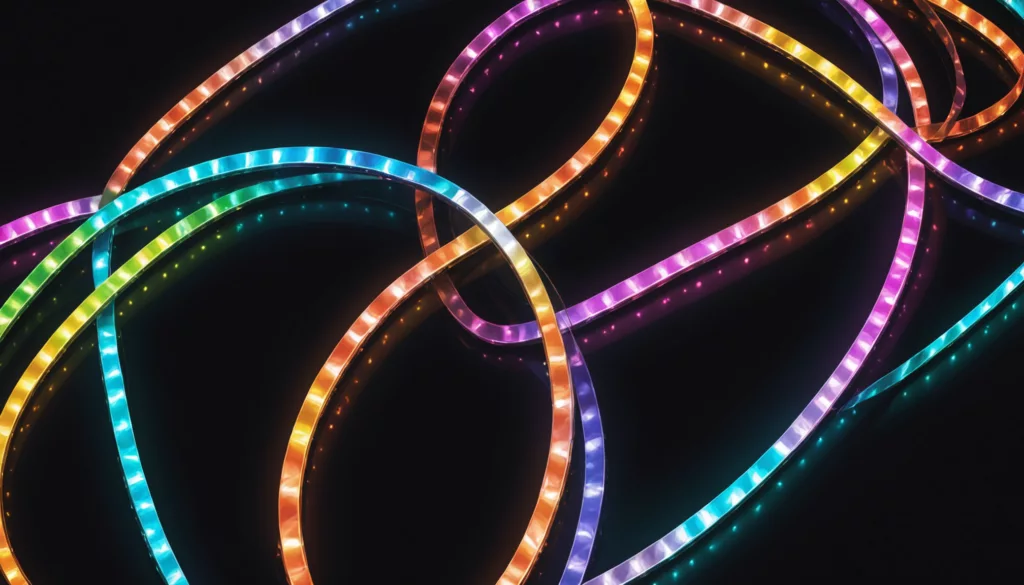
LED strip lights give you flexible, bright illumination for many applications. You can install them on walls, furniture, or ceilings to highlight features or add eye-catching accents.
What Is an LED Strip Light?
An LED strip light is a narrow circuit board fitted with tiny surface-mounted diodes. These diodes shine when connected to a 12V or 24V power supply. Most strips measure around 16.4 feet (5 meters) and include an adhesive surface for easy placement. Some users explore cutting LED strip lights to match custom lengths, but always follow marked cutting intervals (Department of Energy).
Types of LED Strips: Waterproof and Regular
Regular LED strips feature IP20 ratings for indoor lighting. Their exposed circuit boards release heat quickly, making them simple to modify. Waterproof LED strips, with IP65 to IP68 ratings, resist moisture and accidental damage. These versions often come with silicone or epoxy coatings, so they work in damp environments like patios or kitchens (Electricalcounter, Philips Lighting)
| Feature | Regular Strips | Waterproof Strips |
|---|---|---|
| Rating | IP20 | IP65-IP68 |
| Environment | Indoor | Indoor/Outdoor |
| Heat Dissipation | Excellent | Good |
| Modification Ease | High | Moderate |
Why Use LED Strip Lights for Your Projects?
LED strip lights conserve energy by using up to 75% less power than classic bulbs. They also run for about 25,000 to 50,000 hours, which reduces replacement hassles. You can bend or curve each strip to fit corners, shapes, or edges. This flexibility makes them ideal for cabinets, stairs, or accent lighting in any DIY project (Cree Lighting)
Key Components of LED Strip Lights
Each strip relies on LED chips, usually SMD 3528, 5050, or 2835, to produce light along the entire length. A parallel circuit design ensures consistent brightness from end to end. You need a dedicated driver to regulate voltage and protect the diodes from electrical hazards. Many strips also work with a 4pin connector or other controllers to fine-tune color and brightness (Lumileds).
How to Cut LED Strip Lights Safely
Can LED Strip Lights Be Cut?
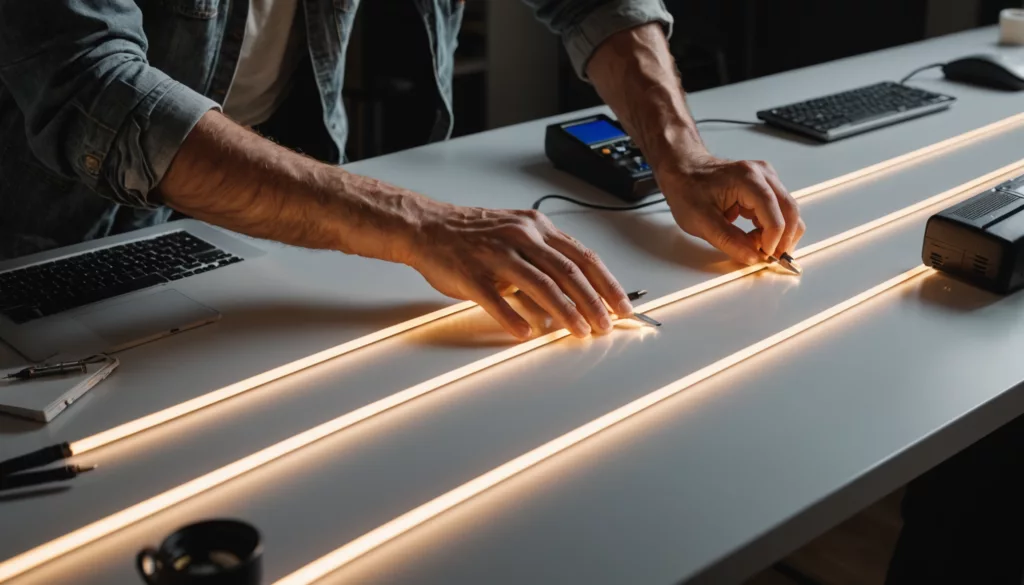
You can cut most LED strip lights at marked intervals without damaging the remaining section. Look for scissor icons, copper pads, or double lines showing where to make your cut. These markings appear every 2–4 inches on standard LED tape lights. Cutting LED strip lights along these points preserves the circuit and keeps each piece functional.
Important Steps to Cut Your LED Strip Lights
- Measure the length you need and locate the nearest cutting line.
- Disconnect the power supply to stay safe.
- Lay your strip lights on a flat surface and align a straight edge with the marked line.
- Use sharp scissors or a utility knife to cut along the scissor icon or copper pads.
- Test each section to make sure it receives power and lights properly.
Tools Required to Cut LED Strips Safely
You need a few simple tools to cut your strip lights in a clean, safe way. Sharp scissors or a utility knife, a measuring tape, and a marking pen help you cut your LED light strip precisely. For waterproof LED light strips, keep extra silicone glue or other sealing materials handy. Consider adding connector clips or 4pin connectors if you want to rejoin pieces later.
| Tool Type | Best For | Avoid Using |
|---|---|---|
| Sharp Scissors | Regular density strips | Dull blades |
| Utility Knife | Precise, straight lines | Serrated edges |
| Wire Cutters | Thicker circuit boards | Worn tools |
Safety Precautions and Best Practices
Disconnect every power source before you cut your strip light. Use good lighting and avoid touching copper contacts with your bare hands. Make sure you slice straight across each cutting point to reduce the chance of accidental damage. For waterproof LED strips, seal the end with silicone or another weatherproof solution to protect the copper connections.
Reconnecting Cut LED Strip Lights: Techniques and Tips
How to Locate Cutting Points on LED Strips
Many LED light strips include a scissor icon or solid line that shows precise places to cut the strip. These cutting intervals often appear every few inches and feature copper pads on each side of the marked line. Cutting at these points helps maintain safe electrical connections and consistent brightness after the strip is trimmed.
Common markers include:
• Copper pads labeled for positive and negative
• Simple scissor icons to guide the cut
• Clearly visible intervals between LED segments
Methods to Reconnect Cut LED Strip Lights
Reconnection often relies on solderless connectors or soldering methods. Clip-on connectors grip the exposed copper contacts. These connectors require proper alignment to make sure each wire or pin lines up with its matching pad. Soldering creates permanent connections but demands a heat-controlled iron and flux for reliable joints.
Basic reconnection approaches include:
- Solderless clipping for quick attachments
- Soldering with metal solder wire on a heat-resistant surface
Using Copper Connections for Reliable Repairs
Copper pads measure about 2mm to 4mm in width and offer stable contact points for both low-voltage indoor LED strip lights and larger 24V RGB LED strip projects. Each pad aligns with positive, negative, or data lines. Check copper plating for signs of damage before attaching a connector or applying solder.
| Connection Point | Purpose | Marking |
|---|---|---|
| Positive (+) | Supplies power | Labeled “+” |
| Negative (–) | Completes circuit | Labeled “–” |
| Data | Controls RGB/RGBW | DIN or DOUT |
Testing and Validating Connections
Visual inspection is the first step to confirm correct alignment, followed by a quick continuity check with a multimeter. A low-power test reveals loose connections or flickering before using a higher-power source. Stable brightness and color indicate a proper joint. Always verify polarity and voltage compatibility to keep the strip safe and ready for regular use.
Common Troubleshooting for Cutting LED Strip Lights
What to Do When Your LED Strip Doesn’t Light Up
Your LED strip can stay dark if it uses an incompatible power supply or if you cut your strip light at the wrong point. Always confirm that the power supply voltage matches the label on your flexible LED strip. Check polarity by lining up plus and minus markings on both the strip and power source.
Damaged copper contacts also block electricity from flowing. Inspect each cut mark for cracks or burned traces, then test individual segments with a suitable power supply. Replace loose connectors or re-solder broken wires as needed.
Avoiding Common Mistakes When Cutting LEDs
You risk damaging your LED strip if you cut outside the marked intervals. These spots usually include copper dots or a scissor icon, which helps you keep the circuit intact. Dull scissors can crush interior pathways, so use a sharp pair or precision knife for clean edges.
Waterproof LED light strips need resealing after every cut to preserve moisture protection. Apply silicone glue or another sealant around open copper contacts. Keep spare connectors available to fix slips on delicate surfaces.
How Bright Should Your LED Strips Be After Cutting?
Brightness remains stable if you cut along designated lines. Each segment receives the correct voltage, so color and intensity should not fade. Noticeable dimming suggests a very long continuous run or incomplete wire connections.
To prevent voltage drop on strips over five meters, you can add power injection or divide them into shorter sections. Flickering or uneven color often points to loose connections or damaged copper pads. Examine each segment for consistent performance.
Professional Solutions for Common Issues
Experts recommend using LED strip connectors rated for the proper amperage to maintain strong bonds. Aluminum channels help control heat, which extends the strip’s lifespan. If you notice dimming, add power every five meters or use multiple shorter runs.
Waterproof installations need careful sealing. Apply silicone around all cut points, and confirm that connectors fit snugly to repel moisture. Always test your sections before permanent mounting to detect issues early.
Expert Tips for Customizing Your LED Strip Lights

Best Practices for Using LED Strip Lights Effectively
Install LED strips on flat, dirt-free surfaces to help them stick well. Keep each run under 16.4 feet (5 meters) to reduce voltage drop. Leave about 1 inch of open space around strips so they can cool. You should also choose a power supply rated at least 20% higher than your total load.
Helpful guidelines:
• Wipe down mounting areas before applying strips
• Add power injection points if you extend beyond recommended lengths
• Maintain a 2-inch bend radius to avoid damage
• Check operating temperatures between -22°F and 140°F
Recommendations for Color Selection and Effect Usage
Color temperature changes both the look and feel of a room. You might use warm white (2700K-3000K) for homes and cool white (5000K-6500K) for detailed tasks. RGB strips add even more creativity, offering up to 16 million color blends.
Try these spots for greatest impact:
• Under cabinets and shelves
• Cove areas for subtle glows
• Display cases and architectural highlights
Future Trends in LED Strip Light Technology
LED strip innovations focus on advanced home integration and energy savings. Smart systems, motion sensors, and ambient light detection are growing quickly. New designs also boost efficiency by 30-50%. Some developers are testing organic LED (OLED) strips.
Creative Applications and Design Ideas
Indoor uses include accent lighting for kitchens, stairs, and entertainment centers. For a bolder style, position strips beneath furniture edges or inside display cabinets. Cutting LED Strip Lights can help you tailor lengths for tight corners or unique shapes.
Fun external touches:
• Outdoor events with waterproof LED strips
• Retail displays for eye-catching designs
• Artistic wall-washing effects
Quality and Maintenance Considerations

Choosing High-Quality LED Strips
You get reliable performance from your led light strip when you choose top-grade materials. Premium copper PCBs at 1.6mm thickness or more and a high LED density of 120-240 LEDs per meter help ensure even lighting. Look for certification markings, such as UL or CE, and confirm a CRI (Color Rendering Index) of 80 or higher. Use a sturdy wire gauge (20-22 AWG) to handle your power supply safely and maintain consistent brightness.
| Feature | Standard Quality | Premium Quality |
|---|---|---|
| PCB Material | Aluminum | Copper |
| LED Density | 30-60/meter | 120-240/meter |
| CRI Rating | <80 | ≥80 |
| Wire Gauge | 24 AWG | 20-22 AWG |
| Heat Dissipation | Basic | Advanced |
Maintenance Tips for Long-Term Performance
You can boost your LED strip’s lifespan by up to 30% through proper care. Dusting every three to six months with a soft cloth. Keep the temperature around 20-30°C (68-86°F) and humidity at 30-60% to prevent connection damage. Inspect each connector and wire monthly, especially if you decide to cut your strip light and reuse extra pieces in new designs.
Environmental Impact and Energy Efficiency
Cutting LED strip lights for DIY projects won’t reduce their overall eco-friendly benefits. LED strips use about 75% less energy than older bulbs. They contain no mercury and last around 25,000 to 50,000 hours, which lowers waste and resource use. They also produce minimal heat, helping you shrink your carbon footprint. Most parts are recyclable except for the adhesive, and fewer replacements save energy in the long run.
Conclusion
Cutting LED strip lights is a fun and practical DIY project that anyone can master with the right tools and knowledge. By following the proper cutting techniques at marked points and using appropriate connectors, you can customize your LED strip lights to fit any space perfectly. Remember to always work with clean cuts, maintain proper connections, and test your work before final installation.
Now that you understand how to safely cut and reconnect LED strip lights, you’re ready to transform your living space with creative lighting solutions. Whether you’re adding accent lighting to your room or creating an awesome gaming setup, the possibilities are endless. Get started with your LED strip light project today and watch your ideas come to life!
FAQs
1. Where can LED strip lights be cut?
You can cut your strip light at the marked copper dots or scissor icons. They usually appear every 2–4 inches. Always cut along these lines to avoid damaging the circuit.
2. What tools are needed for cutting LED strips?
You need sharp scissors or a craft knife, a measuring tape, and a clean work surface. For reconnecting pieces, use clip-on connectors or solder for permanent joints. Make sure you handle any wire or copper contacts with care.
3. How do you test if the cut strip still works?
Connect the trimmed section to your power supply and check each LED for consistent brightness. Make sure color changes work if it’s an RGB strip. Then test any smart controls or dimmers if necessary.
4. Will cutting affect brightness or performance?
A correct cut along the designated line keeps full brightness, color quality, and overall functions. In most cases, the voltage remains stable if you follow recommended cutting intervals and power limits.
5. What are common cutting mistakes to avoid?
Avoid cutting between copper markings, using dull tools, or damaging contacts on your flexible circuit boards. For waterproof LED light strips, do not slice through the coating without resealing it.

