How Long Does Solar Installation Take: Install Solar Panels Timeline
Planning a solar installation at your home? You might be wondering, how long does solar installation take? Knowing the timeline for installing solar panels is crucial as it helps you plan and ensures that you don’t miss out on the amazing benefits of solar energy. If you don’t figure this out, you might end up waiting longer than necessary to start saving on those pesky electricity bills!
In this article, we’ll explore the typical installation timeline, the factors that might delay the process, and some tips to help you get started smoothly. We’ll also dive into the steps involved in the pre-installation phase and what happens during the actual installation day. So grab your toolkit, and let’s uncover how to bring solar power to your home efficiently!
Understanding the Solar Installation Process: How Long Does It Take to Install Solar Panels?
Average Timeline to Install Solar Panels: What to Expect
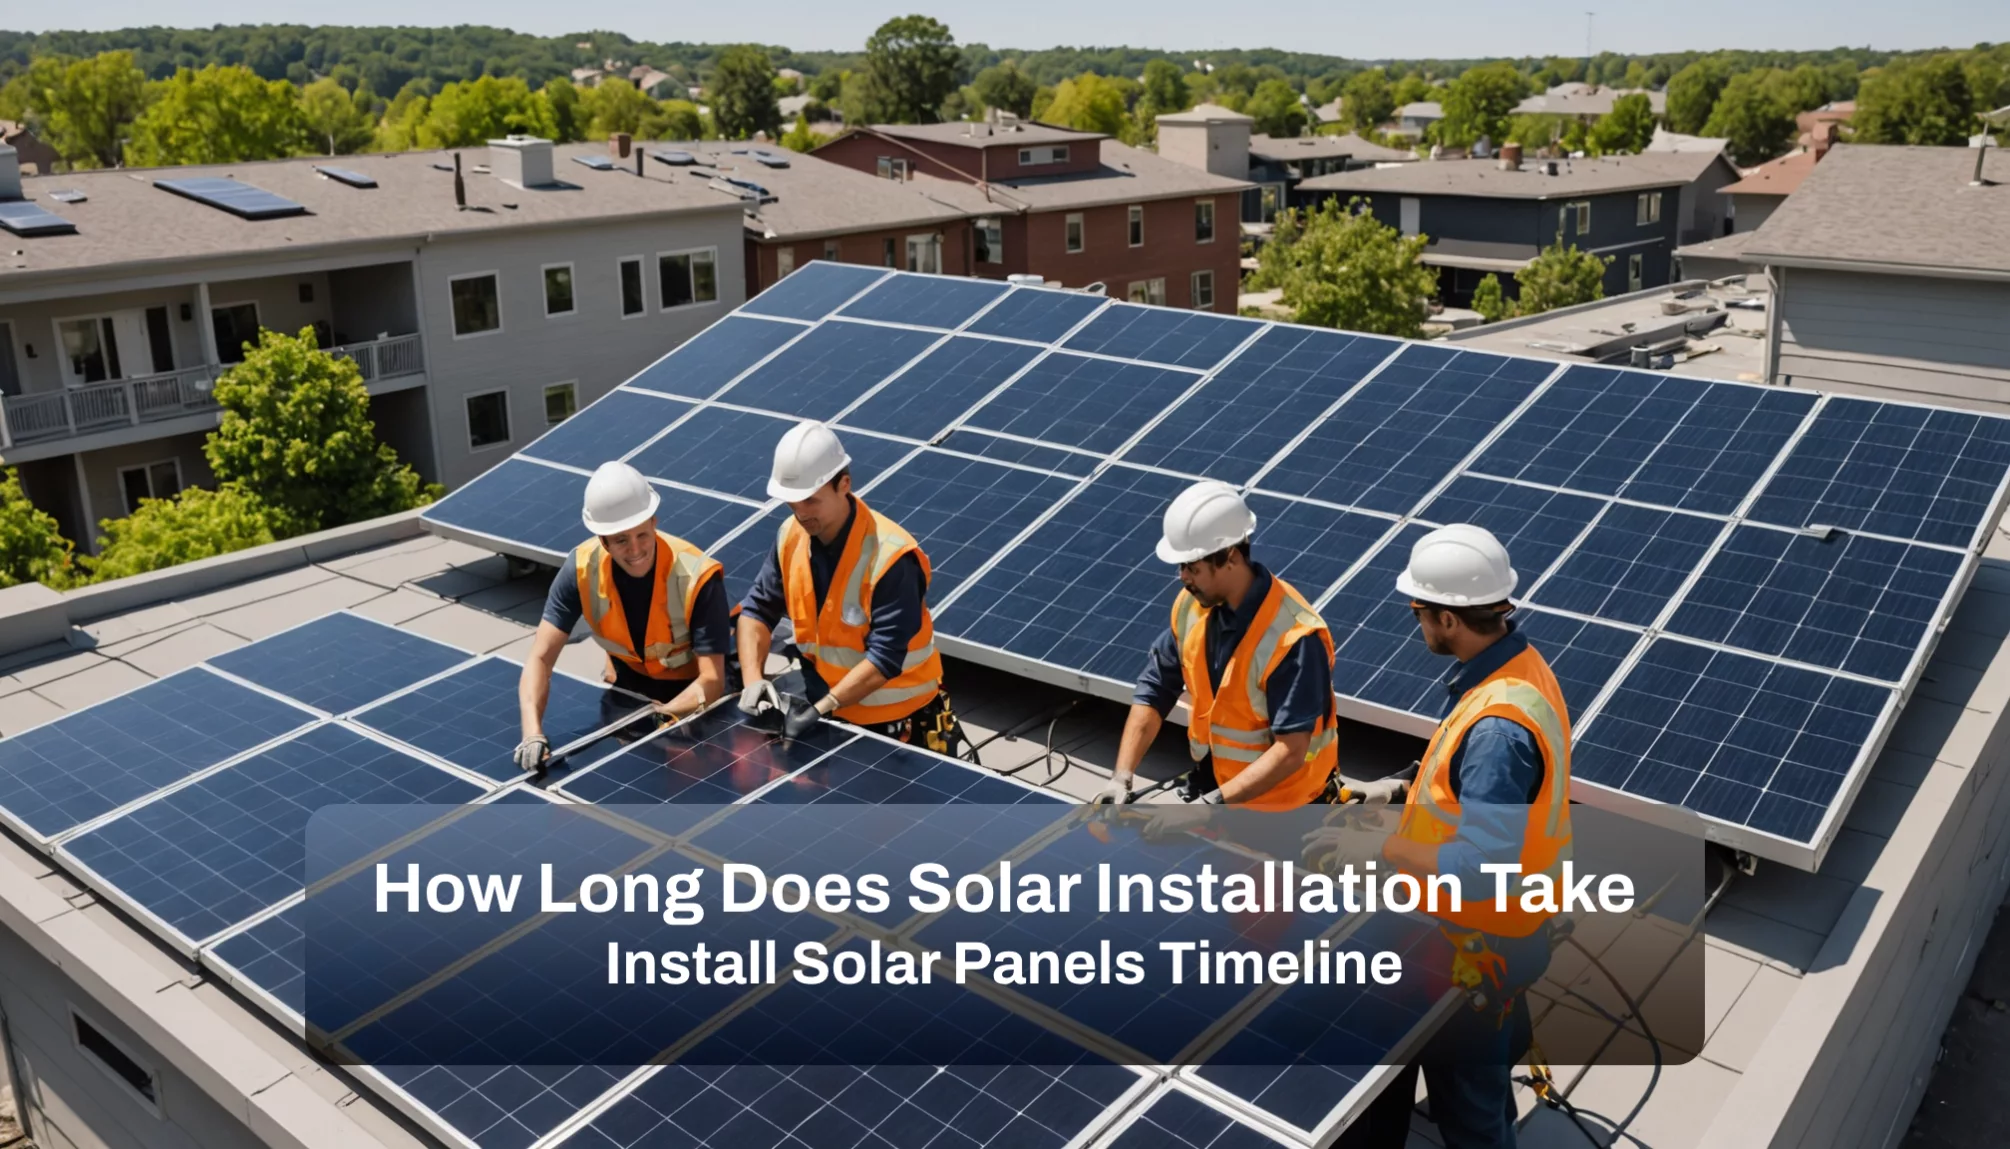
The installation of solar panels typically takes 1 to 3 days for the actual rooftop work. However, the entire process—from the initial consultation to the system going live—can take several weeks or even months. The key steps include:
- Site assessment and engineering review: 1–2 weeks, during which a professional evaluates the roof’s suitability for solar installation.
- System design: 1–3 weeks, where engineers create a tailored plan based on energy needs and local codes.
- Permit application: Several weeks to months, depending on local regulations and the efficiency of the permitting authority.
- Physical installation: 1–3 days, where the mounting of panels and connections to the electrical system occur.
- Final inspection: 1 day to several days, ensuring that all installations meet safety and code requirements.
- Utility interconnection: A few days to several weeks, allowing your system to connect to the grid and start producing energy.
Why Go Solar Now: Benefits of Timely Installation
Timely solar panel installation provides numerous advantages, including immediate cost savings on electricity bills and quicker access to renewable energy benefits. Additionally, rapid installation can accelerate the return on investment through tax credits and rebates, making it financially advantageous to proceed sooner rather than later.
Factors That Impact Solar Installation Timelines System

Size and Complexity: How Your Solar System Requirements Affect Installation
The size and complexity of your solar system play a significant role in determining installation timelines. Larger systems or those with unique electrical configurations may require additional time for installation due to increased labor and material needs.
Property Considerations That Impact Solar Panel Installation
Factors such as roof condition, angle, and accessibility can all affect the installation process. Homes with older or damaged roofs may require repairs before installation begins, adding time to the overall schedule.
Weather Conditions and Seasonal Factors That Delay Installation
Inclement weather, including rain, snow, or high winds, can delay installation schedules. Seasonal conditions may reduce the availability of installation teams, further impacting timelines and potentially leading to rescheduling.
Installer Experience and Team Size
The experience level of the installation team and the size of the crew can significantly affect how quickly the project is completed. Skilled teams with adequate resources typically finish installations more efficiently and can navigate challenges more effectively.
References:
The Pre-Installation Phase: Site Assessment to Permit Approval
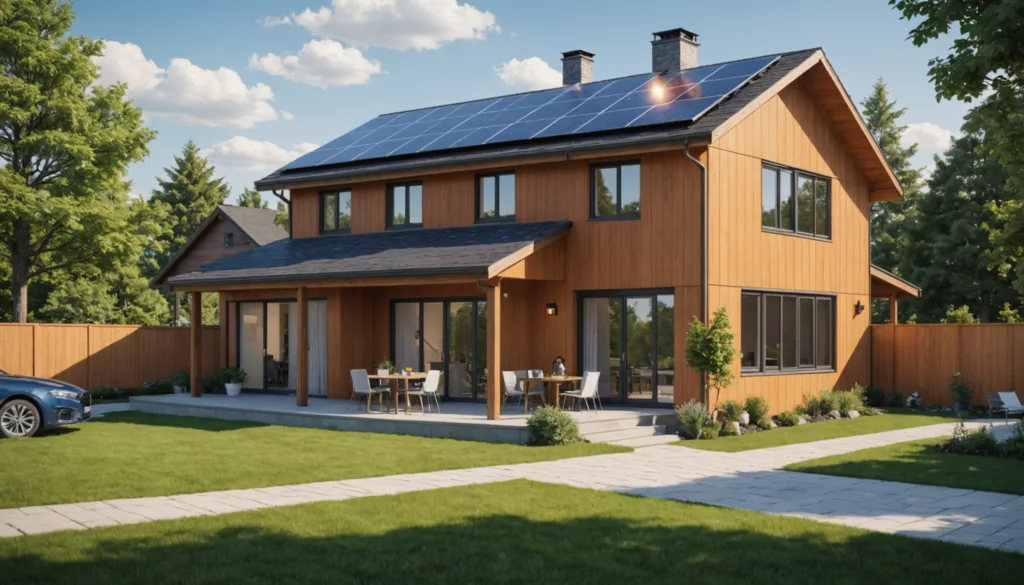
Initial Site Assessment and Engineering Review
During this phase, experts conduct a site visit to evaluate roof conditions, angle, and shading. This assessment typically takes 1–2 weeks and is crucial for identifying any potential issues before installation begins.
Solar System Design: Working With Your Engineer
Engineers design a system tailored to your energy needs, which may take 1–3 weeks based on complexity and requirements. This phase involves selecting equipment and configurations that optimize performance according to local regulations.
Permit Application Process: Timeline and Requirements
The permit application process varies significantly by location and can take anywhere from a few weeks to several months. It’s essential to understand local requirements early in this phase to avoid unnecessary delays. (Energy.gov, NAHB.org)
How to Expedite the Pre-Installation Phase
To speed up this phase, prepare necessary documentation ahead of time and work closely with your solar installation company to streamline permit applications. Early communication with local authorities can also help clarify any requirements needed for approval.
The Physical Solar Panel Installation Process
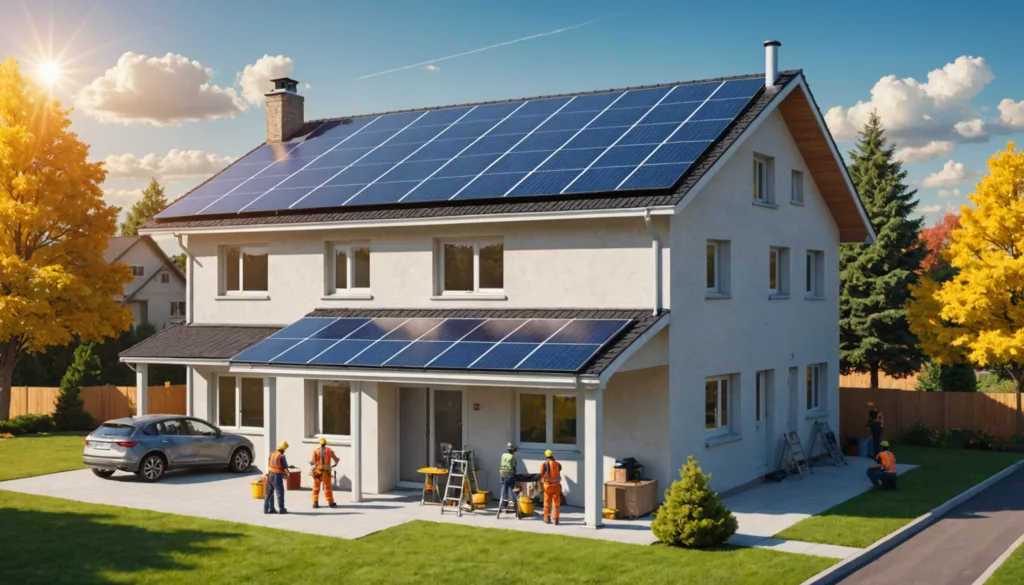
Preparing Your Property for Installation Day
Ensure that the area around your roof is clear and accessible. This step is crucial for a smooth installation process, allowing workers to operate efficiently without obstacles.
The Solar Installation Day Process
On installation day, technicians will mount the solar panels, install wiring, and connect everything to your electrical system. This typically takes 1–3 days, depending on the system’s complexity and size.
Equipment Setup and Connection Timeline
Following panel mounting, connecting the system’s inverter and electrical connections usually requires an additional 1–2 days. Proper setup is essential for ensuring safety and compliance with electrical codes.
Final Inspection and Quality Assurance
After installation, a final inspection checks that all components meet local safety codes. This step may take several hours to a full day and ensures that everything is operational before activating the system.
Post-Installation Steps to Reap the Benefits of Your New Solar Panels
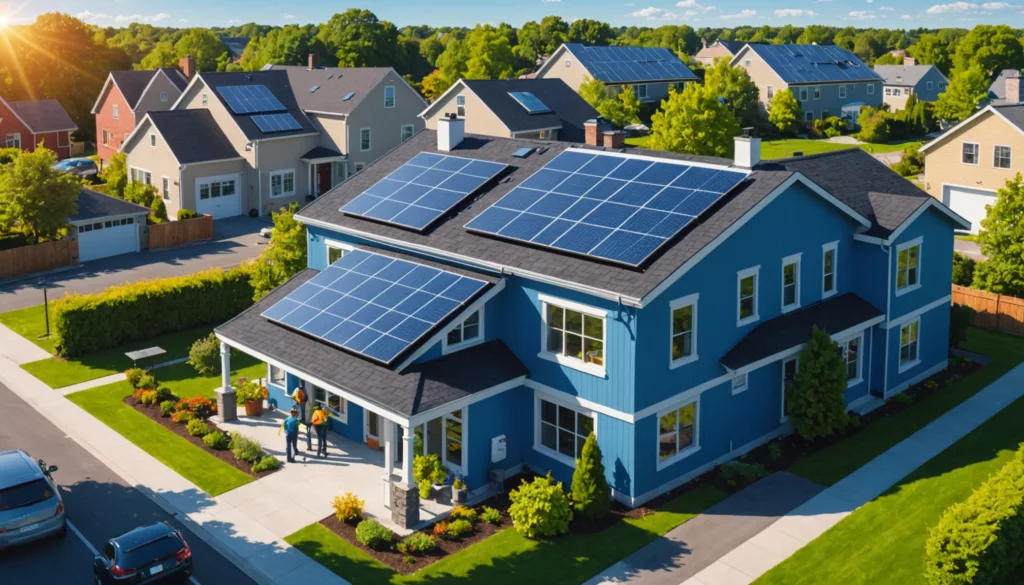
Utility Interconnection: The Final Step Before Going Live
Connecting your solar system to the grid is a crucial step that can take anywhere from a few days to several weeks, depending on local utility procedures and regulations. This process may involve submitting necessary paperwork, inspections, and approvals from the utility company.
Once connected, your system will be able to feed excess energy back into the grid, allowing you to benefit from net metering or other compensation structures. Ensuring a smooth interconnection can help you start generating renewable energy as soon as possible, maximizing your investment in solar technology.
Monitoring System Setup to Track Performance
A monitoring system is typically installed shortly after the completion of your solar panel installation to track energy production and ensure optimal performance. This system provides real-time data on energy generation, usage patterns, and system efficiency. Many modern solar systems come with smartphone apps that allow homeowners to access this information easily.
By monitoring your system, you can identify any performance issues early on and take action to rectify them, ensuring that you get the most out of your renewable energy investment.
Maintenance Considerations to Ensure Optimal Performance
Regular maintenance checks are essential for keeping your solar system efficient and ensuring its longevity. This maintenance routine should include cleaning the panels to remove dirt and debris that can obstruct sunlight absorption. Additionally, inspecting all electrical components annually is critical to identifying any wear and tear or potential safety hazards. (Arka360)
Some homeowners may choose to hire professional services for these tasks, while others may opt for DIY solutions. Establishing a regular maintenance schedule not only prolongs the lifespan of your system but also maximizes its energy output, ultimately saving you money on electricity bills in the long run.
Conclusion
The timeline for solar panel installation varies based on system size, property conditions, weather, and installer experience. While the physical installation typically takes 1 to 3 days, the entire process can last from 1 to 3 months. Understanding each phase helps set clear expectations for homeowners considering a switch to solar energy.
FAQs
1. How long does solar installation take?
Physical installation takes 1 to 3 days; overall processes may last 1 to 3 months when pre-installation work is included.
2. What factors can delay installation?
Larger system sizes, challenging roof conditions, weather delays, and permitting issues can extend timelines.
3. How can homeowners expedite the installation process?
By preparing necessary documentation early and selecting experienced solar installers.
4. What happens after solar panels are installed?
A final inspection occurs before utility interconnection and monitoring system setup.
