How to Clean Bathroom Exhaust Fan with Light in Easy Steps
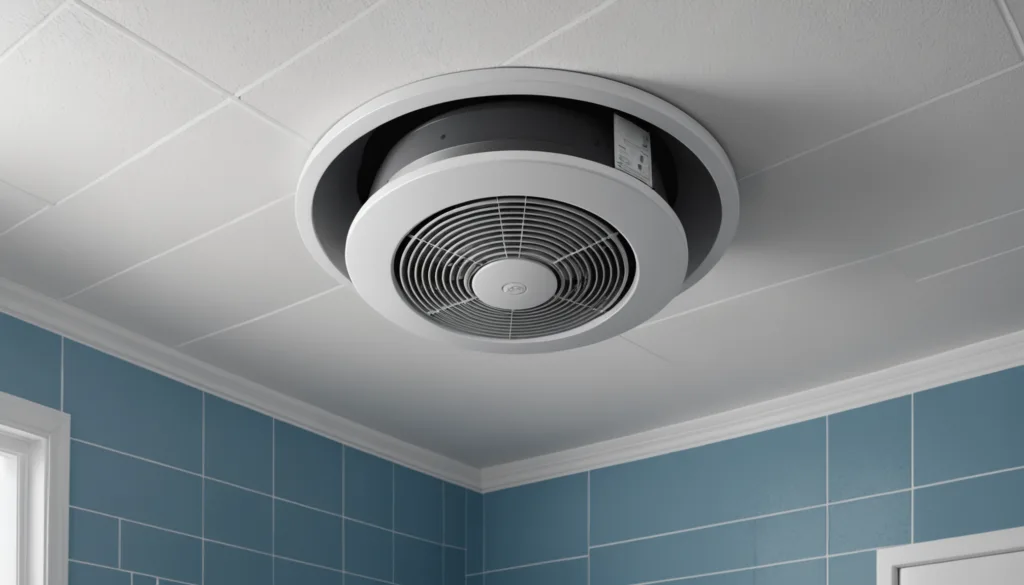
Cleaning your bathroom exhaust fan with light might seem like a chore, but it’s one of those DIY projects that can make a huge difference! Knowing how to clean bathroom exhaust fan with light not only helps keep your bathroom fresh but also ensures the fan works efficiently. Dust and grime can clog up the fan’s performance, leading to poor ventilation and even annoying odors.
With just a few simple steps, you can remove the dust and keep your fan running smoothly. In this article, we’ll cover why regular maintenance is essential, the tools you’ll need to get the job done safely, and a step-by-step guide to cleaning your fan and its light. So, let’s dive in and transform your bathroom into a clean, cozy space!
Why You Should Regularly Clean Your Bathroom Exhaust Fan

The Importance of Routine Fan Maintenance
A clean fan reduces strain on the motor, minimizing risks of overheating and mold growth. Studies show that regular maintenance can boost fan performance by up to 20%. Additionally, simple tasks such as dusting the fan blades with a soft cloth can significantly extend the life of your fan.
Signs Your Bathroom Fan Needs Cleaning
- Excess dust on the fan cover
- Noticeable odor after the fan runs
- Reduced airflow and unusual noises from the motor
These signs indicate that dust accumulation may hinder performance and even create a fire hazard. Frequent inspections can help catch these warning signs early, ensuring your fan operates efficiently.
How Dust Affects Fan Performance and Longevity
Dust accumulation can cause the motor to overheat and reduce efficiency. Regular cleaning removes grime from the fan blades and housing, promoting longer life and better performance. It’s important to note that dust often contains allergens that can affect indoor air quality, making regular cleaning even more crucial for health.
References:
Essential Tools and Safety Precautions Before You Clean

Electrical Safety Tips When Working with Bathroom Fans
- Always switch off the power at the circuit breaker.
- Use eye protection and a stable step ladder for safe access.
Additionally, using non-conductive tools can further reduce the risk of accidental shocks while cleaning.
Tools Needed to Remove the Fan Cover
- Flathead or Phillips screwdriver to remove screws that hold the vent cover
- Vacuum with a brush attachment to dislodge loose dust
- Damp microfiber cloth to wipe surfaces
- Soft-bristled brush for scrubbing stubborn grime
Having these tools ready ensures you can clean effectively without unnecessary interruptions. A voltage tester can also be helpful to confirm that power is indeed off before you begin work.
Preparing Your Bathroom for Fan Service
- Clear the area around the fan.
- Open a window to improve ventilation.
- Place a towel on the floor to catch debris.
Preparing the workspace not only makes cleaning easier but also helps protect surrounding surfaces from any falling dust or debris during the process.
Step-by-Step: How to Clean Bathroom Exhaust Fan with Light

How to Remove the Plastic Cover Safely
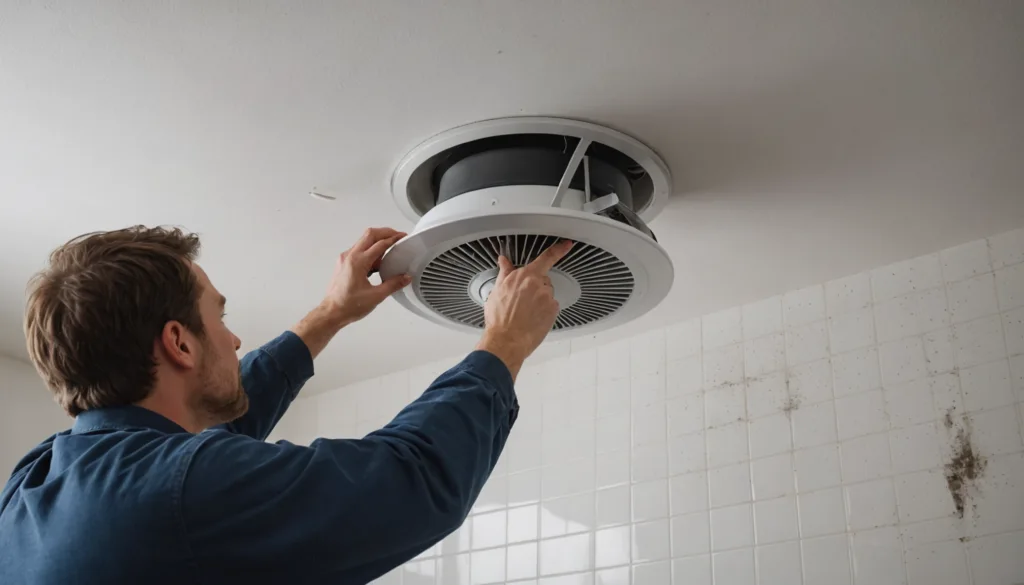
Begin by switching off power at the circuit breaker. Remove screws or gently pull down on clips to detach the vent cover without disturbing wiring. Always support the cover with a soft cloth to prevent any accidental damage during removal.
Techniques to Remove the Fan for Thorough Cleaning
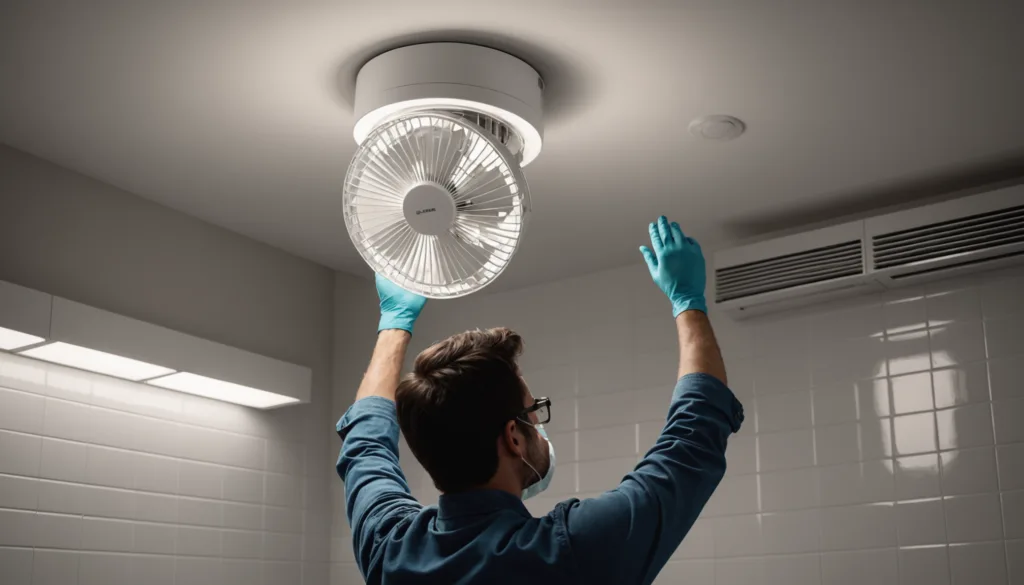
If necessary, use a screwdriver to remove screws that hold the fan assembly. Track wiring connections for safe reassembly and handle with care. Keeping notes or taking pictures during disassembly can be particularly helpful for ensuring proper reinstallation.
Proper Methods to Clean the Fan Blades and Housing
- Use a vacuum with a brush attachment to clear loose dust.
- Wipe surfaces with a damp microfiber cloth dipped in warm soapy water.
- Avoid getting water on electrical parts.
When cleaning, make sure all components are completely dry before reassembling to prevent moisture-related electrical issues.
How to Handle and Clean the Light Bulb Component
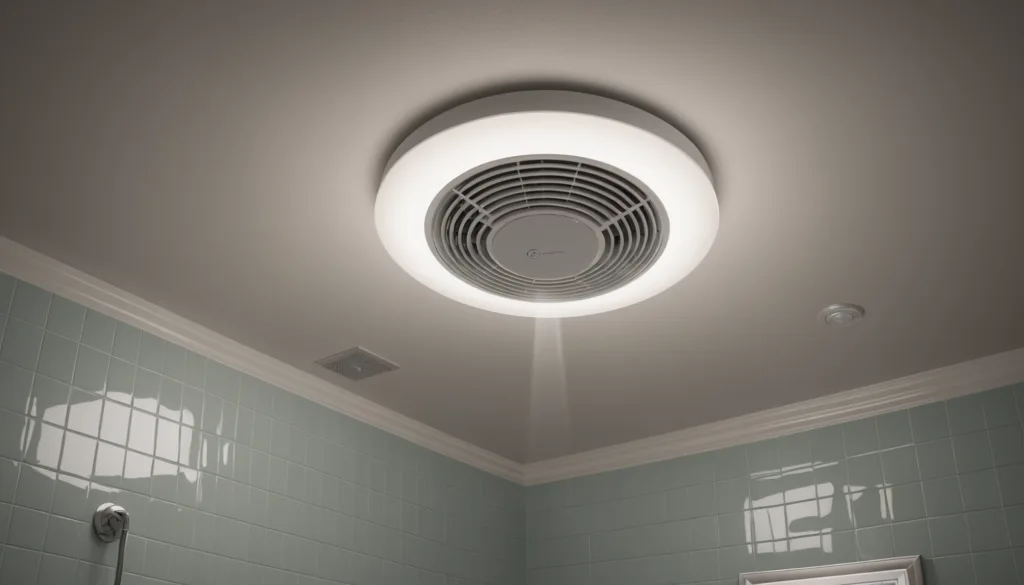
Allow the light bulb to cool before cleaning to avoid burns or damage. Gently wipe it down with a soft cloth to remove dust and ensure optimal brightness. If the bulb is dim or flickering, it may be time to replace it with a new one to maintain effective lighting in your bathroom. Cleaning the light fixture regularly also helps prevent dust buildup that can interfere with the bulb’s performance, thereby prolonging its lifespan.
Reassembling Your Bathroom Fan After Cleaning

Proper Steps to Reinstall the Clean Fan
Place the fan back into its housing slowly and securely. Ensure all parts are completely dry before reassembly, as moisture can lead to electrical problems later on. Taking a moment to double-check that all screws and connections are tight will help prevent any issues during operation.
How to Securely Reattach the Cover
Align the vent cover with the fan housing and press it firmly until it clicks into place. Tighten screws evenly but avoid overtightening, as this can damage plastic components. A well-secured cover not only improves the fan’s appearance but also ensures that dust and debris do not re-enter the motor compartment.
Testing Your Fan After Cleaning Service
Restore power at the circuit breaker. Turn on the fan using the wall switch and listen for smooth operation without unusual noises. Checking airflow by placing your hand near the vent can also help ensure everything is working correctly. If you notice any irregular sounds or reduced airflow, recheck your assembly to ensure everything is correctly reinstalled.
Maintaining Your Bathroom Fan for Long-Term Performance

Establishing a Routine Cleaning Schedule
Clean your fan every three to six months. Regular maintenance helps prevent buildup of dust and mold, keeping your bathroom environment healthy and comfortable. You might consider setting reminders on your calendar or aligning your cleaning schedule with seasonal changes to ensure consistent upkeep.
When to Call Professional Electrical Service
If persistent issues arise, such as unusual noises or reduced airflow, consult a licensed electrician for safety. Professional help is critical when dealing with complex wiring or if you’re unsure about any electrical components. It’s better to address these issues sooner rather than later to avoid potential hazards or costly repairs down the line. (ACDC Fan, Brightforce Electrical)
Conclusion
Regular cleaning of your bathroom exhaust fan with light is essential for maintaining air quality and preventing mold growth. By following these simple steps and using the right tools, you can effectively keep your fan running smoothly while enhancing overall hygiene in your bathroom environment. Remember that this routine not only improves the functionality of your fan but also contributes to a fresher, healthier atmosphere in your home. Taking proactive steps now will ensure that your bathroom remains a clean and pleasant space for years to come.
FAQs
1. How often should the bathroom exhaust fan be cleaned?
Cleaning every three to six months is recommended for optimal performance. This frequency can help ensure that your fan operates efficiently throughout its lifespan.
2. What tools are needed for this cleaning process?
Essential tools include a screwdriver, vacuum with a brush attachment, damp microfiber cloth, and a ladder (if needed). These tools make it easier to access hard-to-reach areas and ensure effective cleaning.
3. Is it safe to clean the fan while it’s powered on?
No, always turn off power at the circuit breaker before cleaning. This step is crucial for preventing electric shock during maintenance efforts.
4. What should I do if my fan remains noisy after cleaning?
Persistent noise may indicate wiring or motor issues that require professional inspection. Addressing these concerns promptly can prevent further damage or safety hazards.


