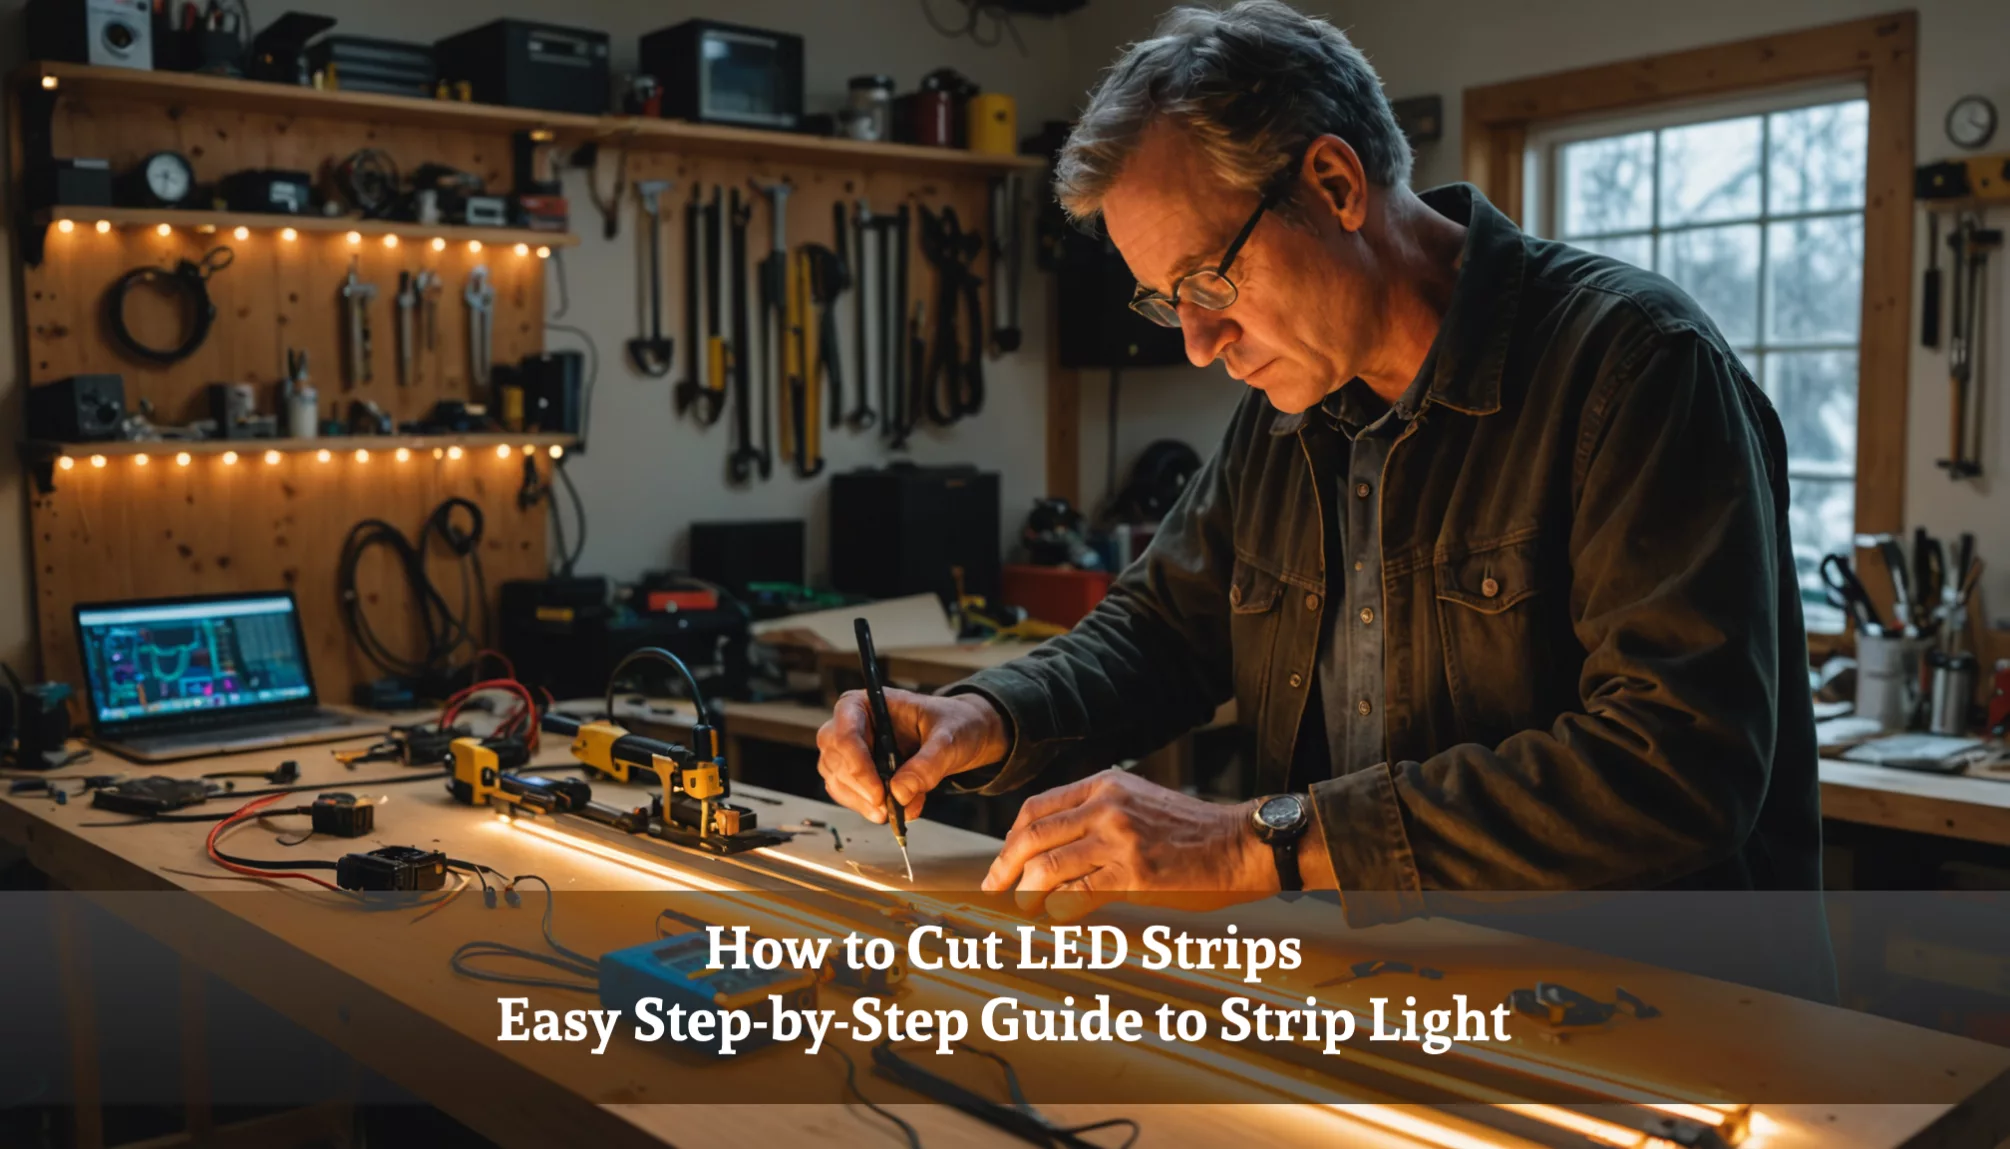
How to Cut LED Strips: Easy Step-by-Step Guide to Strip Light
Have you ever wanted to brighten up your room with colorful LED lights but felt unsure about how to cut LED strips? Learning how to cut LED strips is easier than you think and can help you create stunning designs in any space! Whether you’re looking to wrap your room in vibrant colors or make your DIY projects shine, mastering this skill is a must. If you don’t know how to cut your strips correctly, you might end up with dim lights or even damage your LED strips.
In this guide, we’ll dive into the essential steps for cutting LED strips safely, choosing the right tools, and connecting them to a power source. We’ll also highlight common mistakes to avoid so your projects are successful every time. Get ready to unleash your creativity and light up your space like never before! Keep reading to discover all the tips you need to make your LED strip projects pop!
How to Cut LED Strip Lights: Expert Guide
Step 1: Measure the Length of Your Strip Light
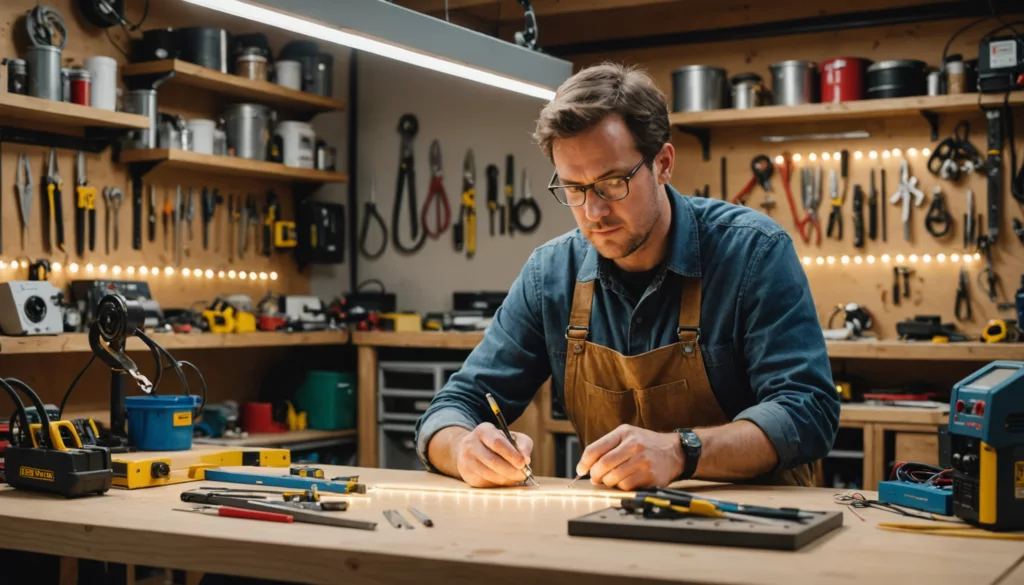
Measuring LED strip lights correctly is key before cutting. This step ensures the strip fits perfectly, saving both materials and time. Determine where to place the strip and account for any bends or curves, as these affect the needed length. Use a measuring tape or ruler for accuracy, and always measure twice before cutting.
Most LED strips have marked cutting points, shown by scissor icons or dotted lines. Cutting along these lines helps keep the electrical connections intact, ensuring the LEDs function properly.
Step 2: Choose the Right Tools for Cutting
Using the right tools makes cutting easy and safe. A sharp pair of scissors or a specialized cutting tool works best. These tools help you make a clean cut, which is crucial for connecting wires and power sources later on.
In addition to cutting tools, having a tape measure or ruler is essential for accurate measurements. If necessary, prepare a marking tool to indicate where you plan to cut.
Step 3: Cutting Your LED Strips Carefully
Always cut your strip at the marked points. This prevents damage to the circuitry inside. Cutting in the wrong spot may cause sections to malfunction or dim. After cutting, handle the strips by their edges and avoid touching the LEDs directly to reduce the risk of damage.
Use a cutting mat to protect your working surface and ensure precision during the cutting process.
Connecting Your Cut LED Strips to Power
How to Locate Connection Points on Strip Lights
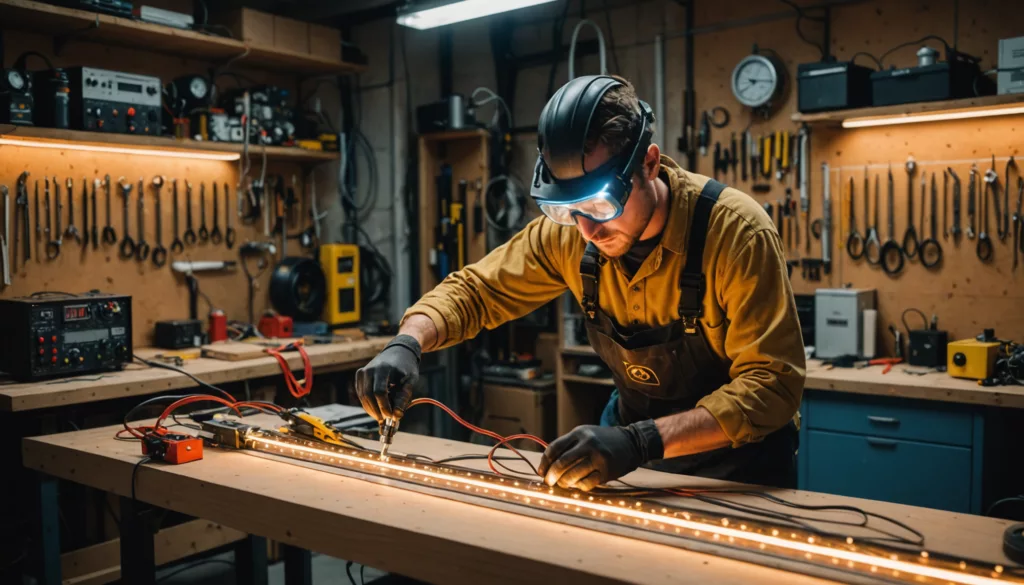
Finding the right connection points is key to powering your LED strips. These points are usually at the ends or at marked spots along the strip where copper pads are located.
Here are the steps for locating connection points on LED strips:
- Identify Marked Spots: Look for marked sections along the strip, often indicated by a scissor icon or dotted lines.
- Locate Copper Pads: At the ends and marked spots, you will find copper pads; these are the connection points for power supply.
- Check Polarity: Ensure that you note the positive (+) and negative (-) markings near the pads to avoid incorrect connections.
Guide to Connecting the End of Your Strip Light
Once you’ve cut your LED strip, connect it to a power source using connectors or soldering. Always match the positive (+) and negative (-) sides correctly to prevent damage. A wrong connection will cause the strip not to light up. (Eufy, Wikihow)
Tips for Ensuring a Super Bright Connection
To ensure your LEDs shine brightly, follow these tips:
- Test Before Final Installation: Temporarily connect your LED strips to test brightness and functionality before making permanent connections, allowing for adjustments as needed.
- Use Soldering for Permanent Connections: Soldering provides a strong and reliable connection that minimizes resistance, enhancing brightness.
- Match Voltage Ratings: Ensure your power supply matches the voltage rating of your LED strips (commonly 12V or 24V) to prevent underpowering or damaging the LEDs.
- Use Adequate Wire Gauge: Choose a wire gauge that can handle the current without overheating, as thicker wires reduce voltage drop over longer distances.
- Minimize Length of Connections: Keep wire lengths short to reduce resistance and maintain voltage levels at the LED strips.
- Check for Damage: Regularly inspect your LED strips and connections for signs of wear, corrosion, or damage, as these can impact performance.
Best Practices for Cutting Strip Light
How to Avoid Damaging Your LEDs
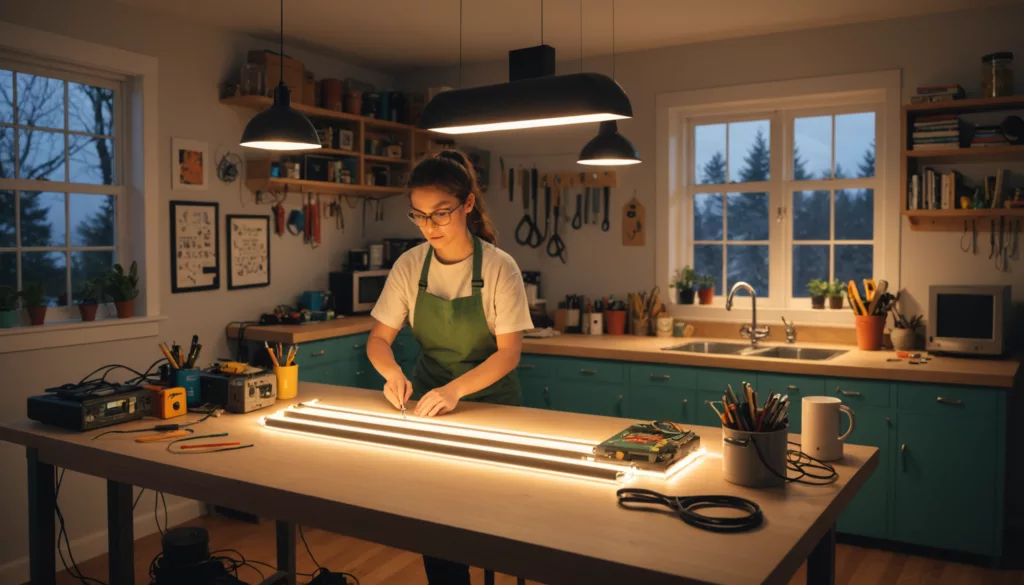
Handle the strips carefully and avoid putting too much pressure on them during installation. Cut only at designated lines marked on the strip. This prevents damage to the LEDs or connections, ensuring they work properly.
Measuring Twice: Why Precision is Key
Accurate measurements help avoid waste and ensure the strip fits perfectly in its intended location. It’s crucial to measure twice before cutting to confirm all dimensions are correct.
Understanding the Copper Connections
Copper pads on the strip are meant for soldering connections. Knowing how they work helps in making secure joins after cutting. Familiarize yourself with the layout of these connections to prevent errors.
Common Mistakes When Cutting LED Strips

What You Might Do Wrong When Cutting Strip Light
A frequent mistake is cutting at non-designated points, which can break circuits and cause sections not to light up. Always follow marked lines and instructions from manufacturers.
How to Recognize Damaged LEDs After Cutting
If a section doesn’t light up, check for visible damage at the cut and ensure secure connections. Flickering lights often suggest poor connections or circuit faults.
Risks of Improper Cutting: What to Avoid
Cutting while powered can cause short circuits, damaging both the strip and power source. Always turn off power before cutting and follow guidelines meticulously.
Reference:
VST-Lighting
Recent Innovations in LED Strip Cutting and Usage
New Tools for Cutting Strip Lights
Recent advancements have led to specialized cutting tools that ensure cleaner cuts without damaging components. These tools make cutting easier and safer for both beginners and professionals alike.
Research on LED Efficiency After Cutting
Studies show that well-cut strips maintain their efficiency as long as cuts are made along designated points. This allows flexibility in projects without compromising performance.
Future Trends in LED Strip Light Products
The market is moving toward more customizable strips with smart features for better home integration. Expect innovations that enhance usability, like addressable RGB options and improved energy efficiency. (TLP, NYTimes)
Conclusion
Knowing how to cut LED strips can transform your DIY lighting projects. This guide outlines key steps such as measuring accurately, selecting appropriate tools for cutting, and ensuring secure connections afterward. By following these best practices, you can achieve beautiful and effective lighting solutions while avoiding common mistakes.
Continually explore new trends and innovations in LED technology to enhance your projects further. Happy crafting!
FAQs
1. What tools do I need to cut LED strips?
Use sharp scissors or a specialized cutting tool for best results.
2. How can I ensure my LED strips work properly after cutting?
Always cut at the marked points on the strip and connect them correctly to the power supply.
3. Can I reattach cut LED strips?
Yes, you can use connectors or soldering to reattach them securely while ensuring proper polarity.
4. What should I do if my LED strip isn’t lighting up after cutting?
Check all connections for tightness and look for any visible damage at the cut point or along the strip.

