How to Light Up Acrylic with LED: Illuminate Your Acrylic Projects
Designing Your Acrylic Project

Plan Your Acrylic Masterpiece
Your design sets the stage for a stunning LED-lit acrylic piece. Pick the right acrylic sheet and map out your engraving pattern for the best light effect.
Choosing the Right Acrylic Sheet
Pick the right acrylic sheet for your LED project. Clear sheets let 92-93% of light through. Thicker sheets spread light better but may dim it. Matte finishes scatter light evenly.
Good choices include White 2447 Translucent, White 2447 P95, Clear P95 Dual Finish, and Clear DP9 Matte Finish.
The right acrylic sheet can make or break your LED project.
At Vocca Light, we’ve tested many types. We found that 1/4 inch thick sheets work best for most projects. They’re sturdy and diffuse light well. For signs, go with white acrylic. It hides the LED strips and gives a clean look.
Clear acrylic is great for edge-lit designs. Always check the sheet’s light transmission rate before buying.
Planning the Engraving Pattern
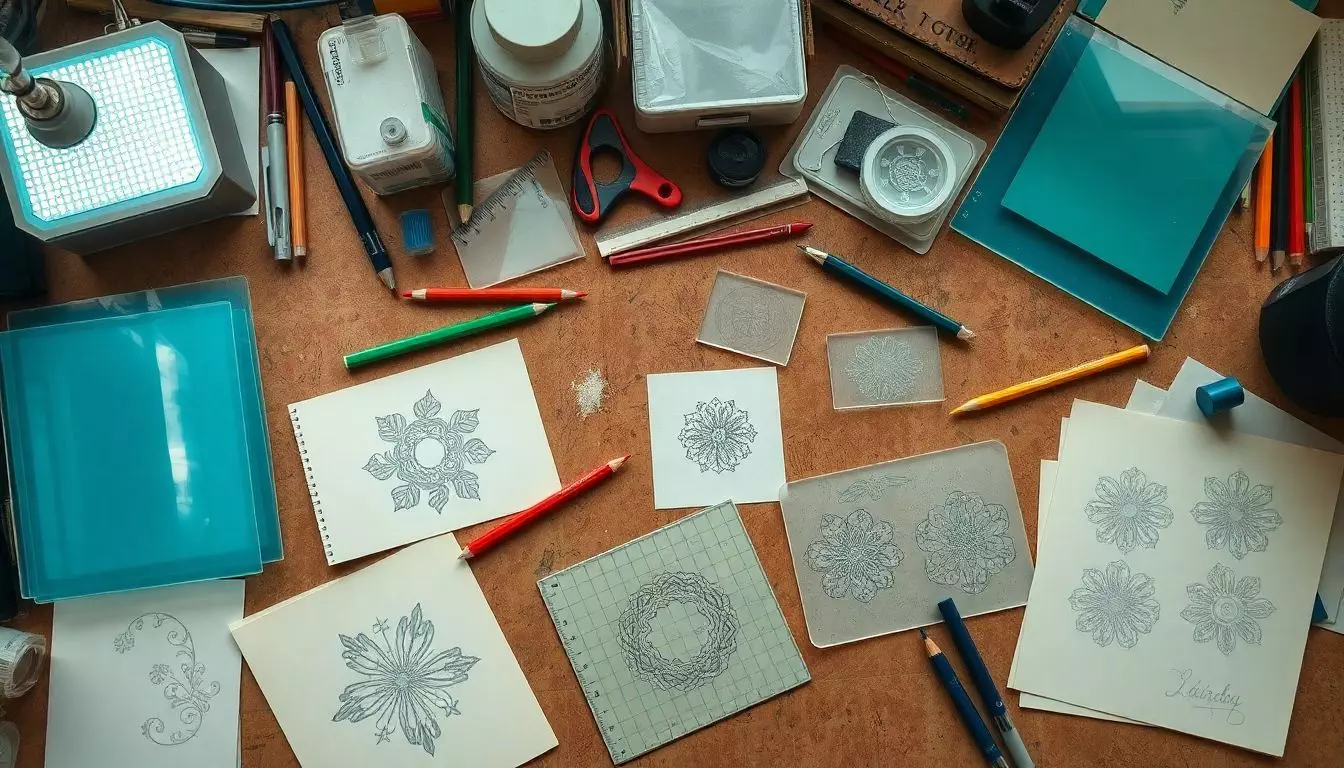
Plan your engraving pattern carefully. Start by sketching your design on paper. This helps you visualize how it’ll look on the acrylic. You can use the new nature-themed designs like seahorse or butterfly for inspiration.
Or, add a personal touch with names or dates using Cricut fonts. Make sure your design fits the size of your acrylic sheet. Keep it simple at first – complex patterns can be challenging for beginners.
Once you’re happy with your sketch, transfer it to your Cricut software. This lets you fine-tune the design before cutting.
Test your pattern on scrap material first. This step saves time and prevents mistakes on your final piece. Adjust the depth and speed of your Cricut Maker for the best results. Different acrylics may need different settings.
Once you’re satisfied, you’re ready to engrave your actual project. With practice, you’ll create stunning light-up designs that impress everyone.
Assembling LED Lighting Components
Get Your LED Gear Ready
Picking the right LED strips is key. You’ll need to match them with your acrylic sheet size and design.
Selecting LED Light StripsLED light strips are key to illuminating your acrylic projects. Choose the right strips to make your design shine.
- Pick strips that are 10-12 mm wide. This size fits most acrylic edges well.
- Look for strips with at least 450 lumens per foot. Brighter lights make your project pop.
- Get strips that use about 4 watts per foot. This keeps power use in check.
- Choose fixed color or RGB strips. RGB lets you mix colors for different moods.
- Buy strips longer than 16 feet. You can cut them to fit your project size.
- Check for cutlines on the strip. These let you trim the strip safely.
- Select strips with strong adhesive backing. This helps them stick to your acrylic.
- Go for waterproof strips if your project might get wet. They last longer in damp spots.
- Find strips with a good remote control. This makes changing colors and brightness easy.
- Get strips that work with your power supply. Match the voltage to avoid damage.
Preparing the LED Base
Preparing the LED Base is a crucial step in your acrylic LED project. You’ll need to create a solid foundation for your lights and acrylic sheet.
- Choose a sturdy base material like wood or plastic
- Cut the base to match your acrylic sheet size
- Drill holes for power cords and mounting screws
- Sand the edges smooth for safety
- Apply a coat of paint or sealant if desired
- Mark spots where LED strips will be placed
- Clean the surface thoroughly before attaching LEDs
- Test fit your acrylic sheet on the base
Now that your base is ready, let’s move on to integrating the LED strips with your acrylic sheet.
Constructing and Mounting
Bring Your Design to Life
Now it’s time to put your acrylic and LEDs together. You’ll attach the LED strips to your acrylic and secure it all to the base.
Integrating LED Strips with AcrylicLED strips bring acrylic projects to life with stunning illumination. Here’s how to integrate them seamlessly:
- Clean the acrylic edges with a soft cloth to remove dust and fingerprints.
- Measure and cut LED strips to fit your acrylic piece perfectly.
- Peel off the backing on the LED strips to expose the adhesive.
- Stick the LED strips along the edges of your acrylic, pressing firmly.
- Space strips evenly for balanced lighting across the whole piece.
- Use a diffuser film on the acrylic surface to spread light more evenly.
- Connect the LED strips to a power source following the manufacturer’s guide.
- Test the setup before final mounting to spot any dark areas.
- Adjust LED placement if needed for the best light spread.
- Secure loose sections of LED strips with extra adhesive if necessary.
- Mount the lit acrylic piece on your prepared base or frame.
- Double-check all connections to ensure they’re tight and safe.
Securing Acrylic to the LED Base
Attaching your acrylic to the LED base is a key step in creating your illuminated project. Follow these steps to secure your acrylic firmly and safely:
- Clean the acrylic and LED base with rubbing alcohol to remove dirt and oils.
- Apply a thin line of clear silicone adhesive around the edge of the LED base.
- Carefully place the acrylic onto the base, aligning edges precisely.
- Press down gently but firmly on the acrylic to spread the adhesive evenly.
- Use painter’s tape to hold the acrylic in place while the adhesive dries.
- Let the adhesive cure fully for 24 hours before handling or powering on.
- Check for any gaps between the acrylic and base once dry.
- Fill small gaps with more silicone if needed for a tight seal.
- Wipe away any excess adhesive with a damp cloth before it dries.
- Test the stability of the acrylic by gently pressing each corner.
Final Steps and Testing
Get Your Acrylic Project Shining
Time to light up your creation! Plug in your LED strips and watch your acrylic come alive. If you spot any dark spots, adjust the LEDs or add more strips for even lighting.
Final Assembly
Time to bring your project to life! Connect your LED lights to the power source. Make sure you wire them correctly for the best glow. Place the lights behind your acrylic sheet. Secure everything in place with strong adhesive.
Double-check all connections before you plug it in. This step is key for a bright, even light across your design.
Now, test your creation. Turn on the power and watch your acrylic light up. Look for any dark spots or uneven lighting. Adjust the LEDs if needed. You might need to move them closer or add more strips.
Don’t rush this part. Take time to get it just right. Your patience will pay off with a stunning, professional-looking LED acrylic sign.
Testing and Adjustments
Testing your LED-lit acrylic project is crucial. You’ll need to check for any issues and make tweaks for the best look.
- Plug in your project and turn it on.
- Check if all LEDs light up evenly.
- Look for dark spots or unlit areas.
- Adjust LED strip placement if needed.
- Test different light modes if you have an RGB setup.
- Dim the lights to see how it looks in low light.
- View the project from various angles.
- Ensure the acrylic is secure and doesn’t wobble.
- Listen for any buzzing sounds from the LEDs.
- Feel the back of the acrylic for hot spots.
- Take photos to spot issues you might miss.
- Ask others for their opinion on the lighting.
- Try the project in different room settings.
- Make sure all wires are hidden and safe.
- Test the remote control if you have one.
Once you’re happy with the results, it’s time to think about where to display your new LED-lit acrylic creation.
Troubleshooting Overloaded LED Lights
After testing and adjusting your LED setup, you might face some issues. Flashing LEDs often mean your power supply can’t handle the load. To fix this, get a stronger power supply or use fewer LED strips.
RGB strips showing wrong colors? You may need to replace a faulty section. If your breaker trips, check your power supply or look for high inrush current. Overheating can happen if you use too high a voltage or have short circuits.
Always match your power supply to your LED needs. Quick fixes can save you time and keep your project shining bright.
Conclusion
Illuminating acrylic with LEDs offers numerous creative opportunities. You can create striking signs, impressive art pieces, or distinctive home decor. With the appropriate tools and some patience, you’ll produce remarkable light-up projects.
Plan your design, select high-quality materials, and adhere to safety procedures. Now, brighten your space with your own glowing acrylic creations!
FAQs
1. What do I need to light up acrylic with LED?
You’ll need: clear acrylic sheet, LED strip, power adapter, 3D printer (optional), rotary tool, sandpaper, and items from a hardware store. Don’t forget a controller for RGB LEDs!
2. How do I prepare the acrylic for lighting?
First, remove the protective backing. Then, use a CNC machine or X-Carve to engrave your design. Sand edges with fine-grit paper for a smooth finish.
3. What’s the best way to attach LEDs to acrylic?
Feed the LED strip into grooves cut along the sign’s edges. For RGB LEDs, ensure the controller is accessible. Press the strip firmly for good adhesion.
4. Can I make a base for my LED acrylic sign?
Yes! Use wood like maple or walnut. Cut it to size, drill holes for wires, and create a recess for the sign to rest. Sand and finish for a pro look.
5. How do I power my LED acrylic project?
Connect the LED strip to a power adapter. Thread the wire through the base. For RGB LEDs, include the controller. Test before final assembly.
6. Any tips for creating eye-catching LED acrylic signs?
Play with different designs – try 3D printing add-ons. Use a dimmer for adjustable brightness. Experiment with colors if using RGB LEDs. Let creativity shine!
References
- https://www.ttplasticland.com/blogs/news/the-right-acrylic-sheet-for-backlighting-led-displays?srsltid=AfmBOopCKZ0P-Jcyyz90am58KnPXKuWJJhdSIsCc_LRr0TL19JoLbuej (2024-09-13)
- https://jennifermaker.com/cricut-engraving/ (2022-09-10)
- https://www.waveformlighting.com/led-strip-lights
- https://hitlights.com/blogs/premium-led-strip-lighting/how-to-use-led-light-strips-to-illuminate-acrylic-lettering-and-signage?srsltid=AfmBOoqLEXn6ML9MpypKu1EtE_WbW5DZCdENCZARW8N7BKzGyRnnBxx5
- https://www.instructables.com/Concrete-and-Acrylic-LED-Lamp-With-a-Wooden-Base/
- https://metrocentersignworks.com/how-to-light-up-acrylic-with-led/ (2023-10-14)
- https://www.instructables.com/Make-an-LED-Acrylic-Sign/
- https://www.instructables.com/DIY-Acrylic-RGB-LED-Sign/
- https://www.instyleled.co.uk/support/troubleshoot-led-strip-lights/
- https://www.modern.place/common-problems-with-led-lighting/?srsltid=AfmBOopGHcLK-YM2wk3qDa9XdMrIpte-lNkUxxgu2FIqHYr2q7m-3wny (2023-09-27)


