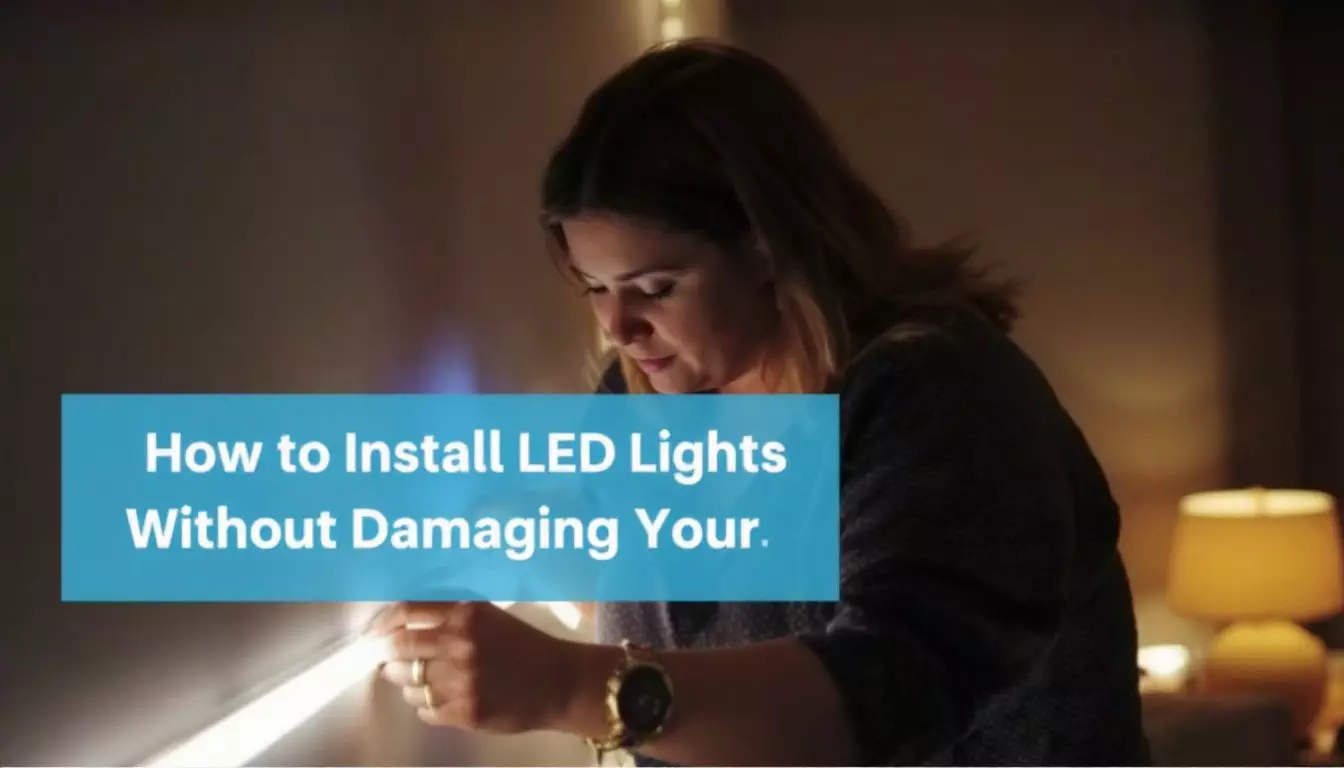
How to Install LED Lights Without Damaging Your Walls
Preparing Your Installation Surface
Get Your Wall Ready for LED Magic
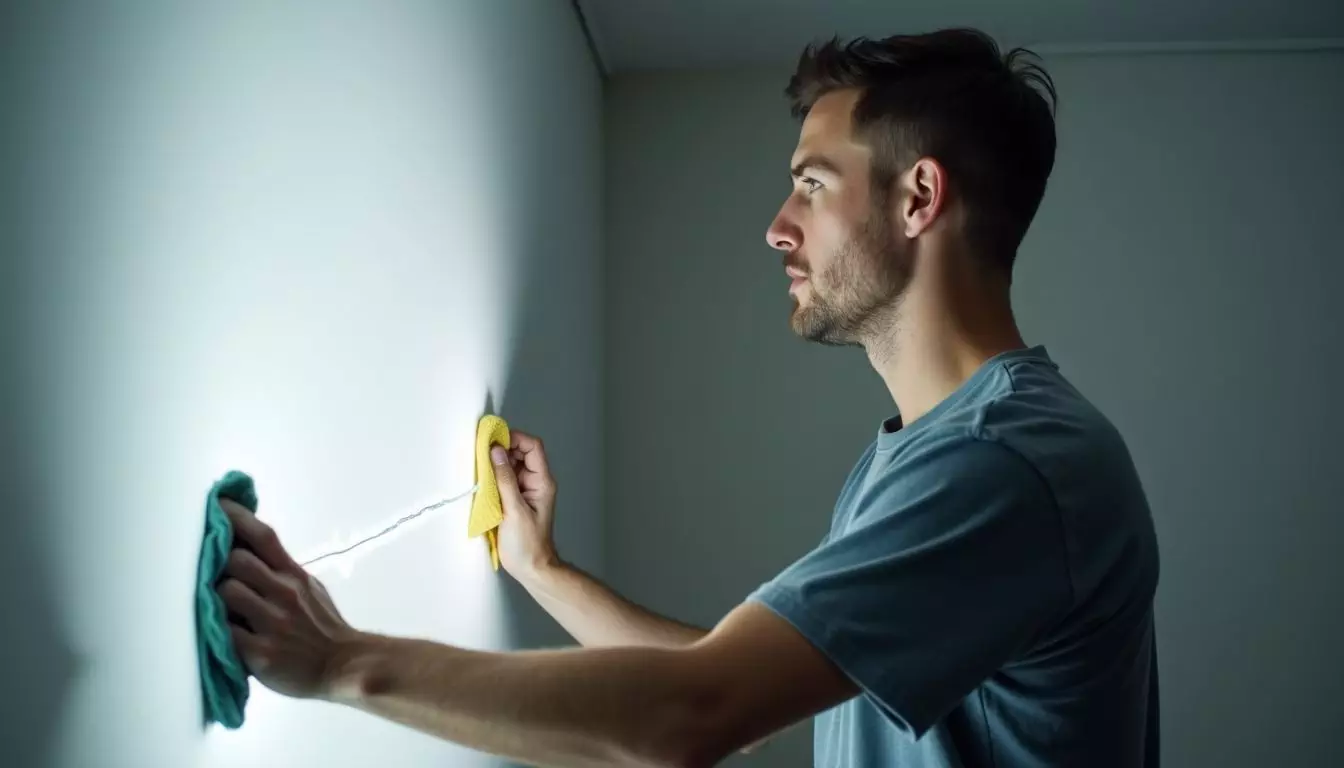
Clean your wall first. A smooth, dry surface helps your lights stick better.
Cleaning the wall properly
Clean walls make LED lights stick better. Grab a damp sponge or cloth with mild soap. Wipe the surface gently to remove dust and grime. For tougher spots, use acetone on a paper towel.
Always test a small area first to avoid paint damage. Dry the wall completely before moving on.
Next, you’ll need to pick the right adhesive for your LED lights.
Ensuring the surface is dry and smooth
A dry, smooth surface is key for LED strip lights. Dust and moisture can mess up how they work. You need to clean your walls first. Use mild soap and water to wipe them down. Then, let the walls dry fully.
This step is super important.
Smooth walls help the adhesive stick better. Check for bumps or rough spots. Sand them down if needed. A flat surface means your lights will stay put. It also cuts down on damage when you take them off later.
Your goal is a clean, dry, even wall for your new LED lights.
A smooth surface is the foundation of a successful LED installation.
Choosing the Right Adhesive
Pick the Best Sticky Stuff
Grab the right glue for your LED lights. Look for removable options that won’t harm your walls.
Types of adhesives suitable for LED lights
LED lights need the right adhesive to stay put. Here are some top choices for sticking your LED strips:
- Double-sided tape: This easy-to-use option works well on smooth surfaces. It’s quick to apply and remove.
- Mounting putty: This flexible adhesive molds to fit uneven walls. It’s great for temporary setups.
- Command strips: These hooks and strips are damage-free and hold up to 16 pounds. They’re perfect for heavier LED strips.
- Hot glue: This strong bond works best for permanent installations. Use it carefully to avoid damaging the LEDs.
- Silicone adhesive: This weatherproof option is ideal for outdoor LED setups. It resists moisture and temperature changes.
- Velcro strips: These allow for easy removal and repositioning. They’re great for renters or frequent changers.
- Epoxy: This super-strong adhesive is best for industrial or high-stress areas. It’s permanent and very durable.
- Foam tape: This option provides a cushion for LED strips. It works well on textured surfaces.
- Magnetic tape: This clever solution lets you move LEDs around metal surfaces. It’s perfect for workshops or garages.
- UV curing adhesive: This fast-drying option is clear and doesn’t yellow. It’s ideal for visible mounting areas.
Advantages of using removable adhesive hooks and clipsRemovable adhesive hooks and clips are game-changers for LED light installation. These handy tools stick firmly to walls without leaving marks. You can easily move or remove them later.
They hold lightweight items like LED strips securely.
Command strips and Velcro strips are my go-to for quick, damage-free LED installs, says our DIY expert at Vocca Light.
Different types fit various needs. Some hold up to 16 pounds, perfect for heavier light fixtures. Others work great for thin LED strips. You’ll find options at any home store. They’re cheap, easy to use, and save your walls from holes or paint damage.
Installation Steps
Ready to light up your space? Let’s get those LED strips on your walls. Grab your tools and follow these easy steps for a bright new look.
Measuring and planning the placement
Grab your tape measure and pencil. Mark spots for your LED lights on the wall. Use masking tape to show start and end points. This helps you see the full layout before sticking anything.
Make sure each strip is straight with a level tool. Find wall studs too – they’re key for a strong hold. Planning now saves headaches later.
Your LED placement matters. Space strips evenly for the best light spread. Avoid putting them near heat sources or damp areas. Think about power outlets too. You’ll need to reach them easily.
Sketch your plan on paper first. It’s easier to fix mistakes there than on your walls.
Applying the adhesive and attaching LED strip lights
Now that you’ve planned your LED layout, it’s time to stick them up. Grab your chosen adhesive and LED strips. Clean the wall surface with a damp cloth. Let it dry fully. This helps the strips stick better.
Peel off the backing of your LED strip. Press it firmly onto the wall. Start at one end and work your way down. Smooth out any air bubbles as you go. If using clips, attach them first.
Then snap the LED strip into place. Test your lights before you finish. This lets you fix any issues right away.
Testing the setup
Plug in your LED strips and check each light. Make sure they all shine bright. Try out different colors and modes. See if they change brightness smoothly. If you have a remote or app, test it too.
This step is key to avoid issues later.
Next, you’ll want to pair your LED lights with the remote. This will give you full control over your new setup.
Pairing LED Light with Remote
Pairing your LED lights with a remote is easy. Most LED strips use infrared (IR) or radio frequency (RF) tech for control. To set up, plug your LED strip into the receiver. Point the remote at the receiver and press the sync button.
This links them together. Now you can change colors and settings with ease.
If your remote isn’t working, try these quick fixes. Check if the batteries are good. Make sure nothing blocks the signal to the receiver. Clean any dirt off the remote’s sensor. These simple steps often solve common issues.
With a working remote, you’ll enjoy full control of your new LED lights.
Removing LED Lights Safely
Safely Remove Your LED Lights
Taking down LED lights can be tricky. You’ll need care and the right tools to avoid wall damage. Want to learn how? Keep reading for expert tips on safe removal.
Techniques for gentle dismantling without damaging paint
Gentle heat is your best friend for LED light removal. Use a hairdryer on low heat to soften the adhesive. Move it slowly along the strip, about 6 inches away. As the glue warms up, carefully peel off the lights.
Go slow to avoid paint damage.
For stubborn spots, try isopropyl alcohol. Dab a small amount on a cloth and gently rub the area. This helps break down leftover adhesive. Peel slowly, watching for any paint lifting.
If you see damage, stop and try a different spot. With care, your walls will stay pristine after LED removal.
Cleaning residue post-removal
After removing LED strips, you might see sticky stuff left behind. Don’t worry! Grab some rubbing alcohol or a special adhesive remover. Put it on a soft cloth and gently rub the spot.
This will help get rid of the gunk without hurting your wall.
For delicate walls, mix warm water with mild soap. Use this to clean the area softly. Once done, wipe the wall with a damp cloth to rinse. Then, dry it with a clean towel. Your wall will look good as new, ready for your next project!
Conclusion
Installing LED lights without wall damage is easy with the right steps. Clean your walls, use proper adhesives, and plan carefully. Test your setup before finalizing. When it’s time to remove, go slow to protect your paint.
With these tips, you’ll enjoy beautiful LED lighting without worry. Your walls stay pristine, and your space glows just how you want it.
For more detailed guidance on synchronizing your LED lights with a controller, check out our step-by-step guide on how to pair LED light with remote.
FAQs
1. How can I hang LED strips without damaging my walls?
Use removable adhesive options like 3M tape. Clean the wall first. Test a small area. This reduces the risk of paint peeling when you take them off.
2. What’s the best way to stick LED light strips to walls?
Try clear tape or special adhesive strips. Pick ones made for walls. They hold the weight of the LED but come off easy. No paint damage!
3. Can I remove LED strips without hurting the wall paint?
Yes! Go slow. Heat the strip with a hair dryer. It softens the glue. Peel gently. Clean off any sticky stuff left behind.
4. Do I need tools to install LED lights around my room?
Not many. You’ll want measuring tape, scissors, and maybe cable ties. Some folks use a pencil to mark spots. That’s it!
5. How do I hide wires when putting up LED strip lights?
Use thin cable covers. Paint them to match your wall. Or, run wires behind furniture. In corners works too. Get creative!
6. Will LED strips work in my apartment bedroom?
Sure! They’re great for small spaces. Just check your lease first. Some places have rules about sticking things on walls. But LED strips are usually okay.
References
- https://hitlights.com/blogs/premium-led-strip-lighting/how-do-you-install-led-strips-without-damaging-walls?srsltid=AfmBOoq2bjlQMfDWIvIg2loWh85-fWr3h8zFCLYzBqSuSvoak9R-SqSZ
- https://hitlights.com/blogs/premium-led-strip-lighting/how-do-you-install-led-strips-without-damaging-walls?srsltid=AfmBOorzA6cNXfyLxB3RyHX5v1Gs8pRzD5nKG8E4-g7F0ES5FtOd5tZ8
- https://cloudybaylighting.com/blogs/news/how-to-hang-led-strip-lights-without-damaging-wall?srsltid=AfmBOooNu1GhCVFjvsIg9mvy3ouGwofHLyEXG5LXqE9t4tHSfnC703sh (2023-08-24)
- https://thegigabrain.com/posts/how-to-install-led-light-strips-without-damaging-walls
- https://www.lensblx.com/how-to-choose-the-right-adhesive-for-your-led-lighting-applications.html (2024-11-25)
- https://cloudybaylighting.com/blogs/news/how-to-hang-led-strip-lights-without-damaging-wall?srsltid=AfmBOop2wj2CxI4oR_dh_EidzIwTv7bw07BcnEzsHgZiCnJYSfW7MeYB (2023-08-24)
- https://hitlights.com/blogs/premium-led-strip-lighting/how-do-you-install-led-strips-without-damaging-walls?srsltid=AfmBOoo4WPUTdGnCJ-w3KxHs42t-m5GAWWZnPuFlCsv32YskpVrtALhw
- https://hitlights.com/blogs/premium-led-strip-lighting/how-do-you-install-led-strips-without-damaging-walls?srsltid=AfmBOorBpWGbLmVhJUHqfgjIcduT1idL1QsiJSuUfb1skW2qdFTLrDds
- https://woodywalls.com/blog/how-to-install-led-strip-lights-on-wall/?srsltid=AfmBOopwsFirDvYzPAl6hXEDTtCvGFVPKSlnvJhypuVsqMBVUxvVPO8y
- https://www.ledmyplace.com/blogs/stories/how-do-led-strip-lights-work-with-a-remote?srsltid=AfmBOorPHQ4rVK_6pihXDq_7yPRXTFq7OCgcvibjIB72KY6k8VEiZ9Yr (2023-08-10)
- https://cloudybaylighting.com/blogs/news/how-to-hang-led-strip-lights-without-damaging-wall?srsltid=AfmBOop_hh9XD3WmRz2Ol25N0kpG3GnY1R4F9REAz6Tc8MPTdOrBHTui (2023-08-24)
- https://www.vst-lighting.com/removing-led-strips-without-peeling/
- https://www.vst-lighting.com/guide-on-removing-led-strip-lights/

