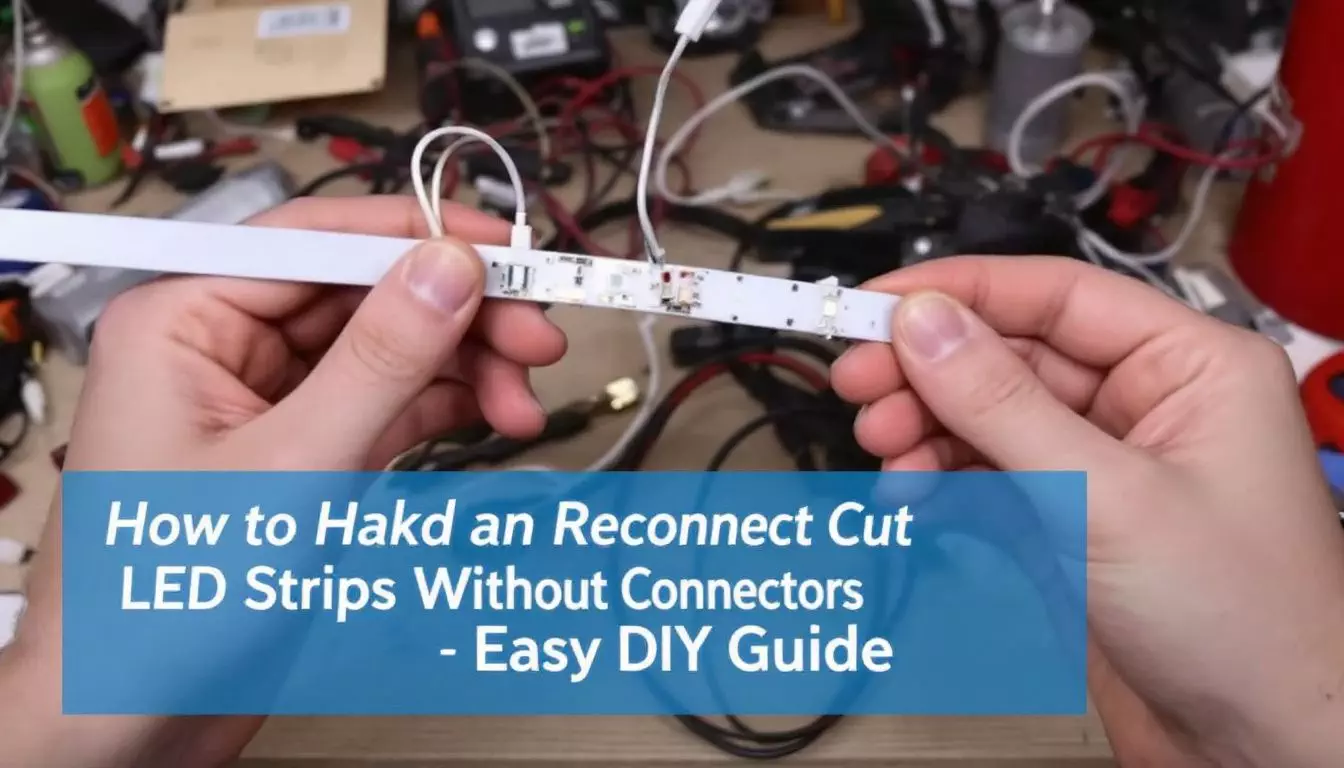
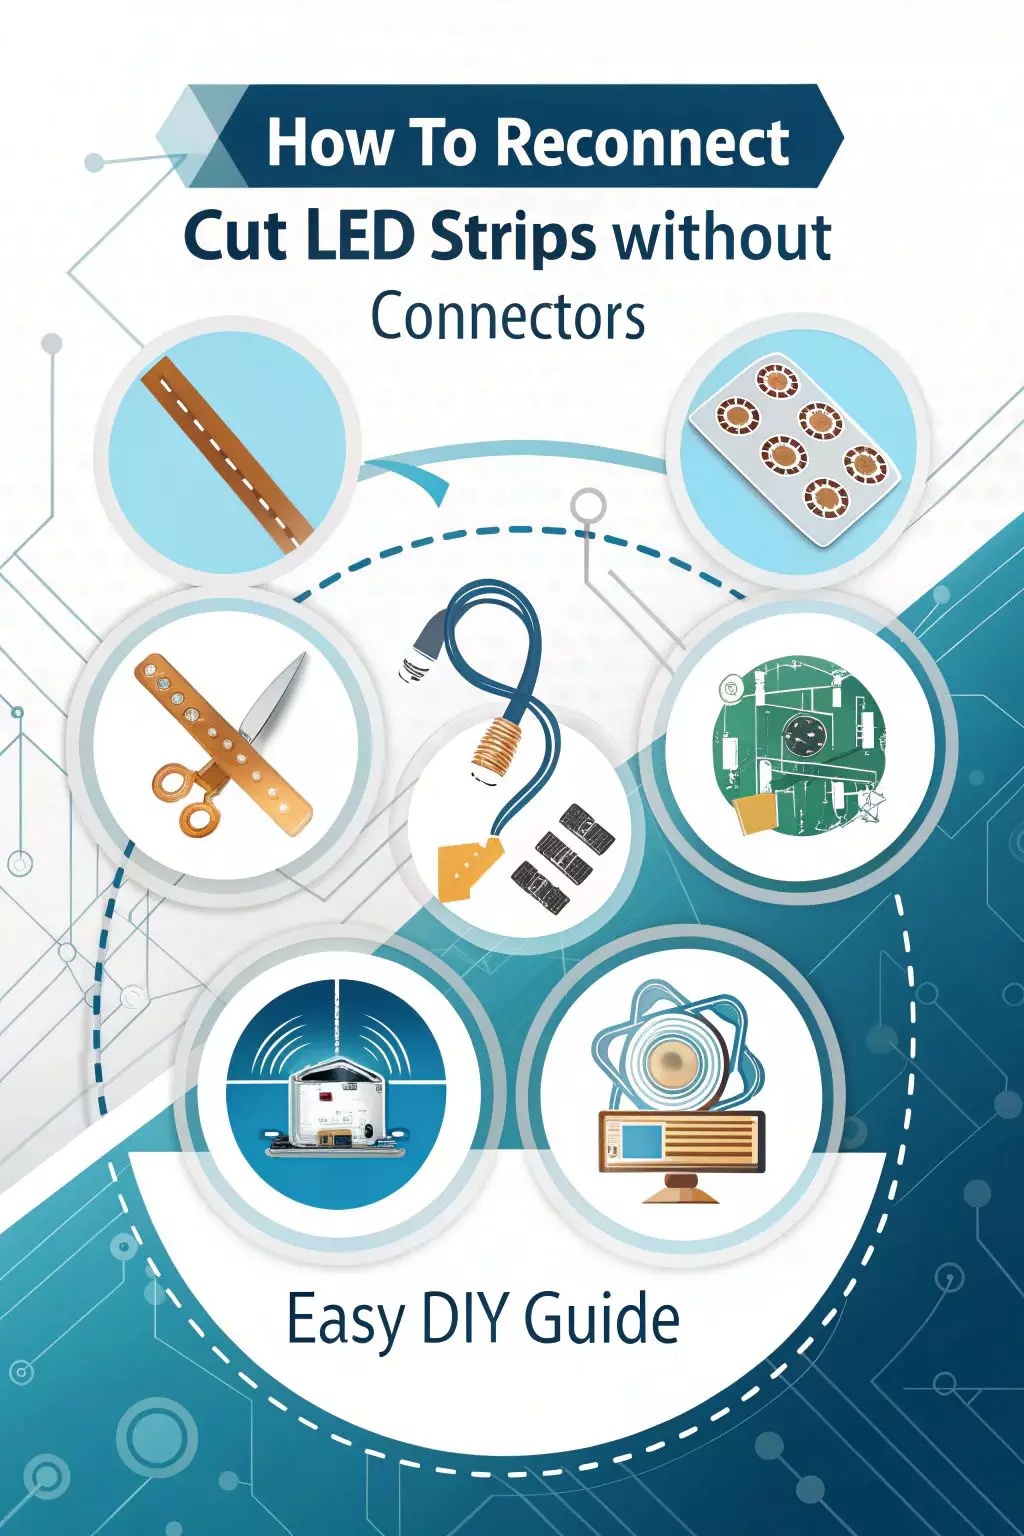
How to Reconnect Cut LED Strips Without Connectors: Easy DIY Guide
LED strips are fun to use, but cutting them can be tricky. Many people think you need special connectors to join cut strips. That’s not true! You can easily reconnect LED strips without connectors.
This guide will show you how.
I’ve worked on many home projects, including LED lighting. I know the ins and outs of these cool lights. You’ll learn a simple way to fix cut LED strips. Let’s get started!
Key Takeaways
- You can reconnect cut LED strips without special connectors using basic tools like a soldering iron, wire strippers, and solder.
- Clean the copper pads on LED strips with rubbing alcohol before soldering to ensure a strong connection.
- Test your soldered LED strip connections by plugging them in to make sure all lights work without flickering.
- Secure soldered connections with electrical tape to protect them from damage.
- Use painter’s tape to plan LED strip placement and a hairdryer for easy removal to avoid damaging paint when installing.
Tools and Materials Needed
Get Your Gear Ready
You’ll need a few key items to fix your LED strips. These tools will make the job easy and safe.
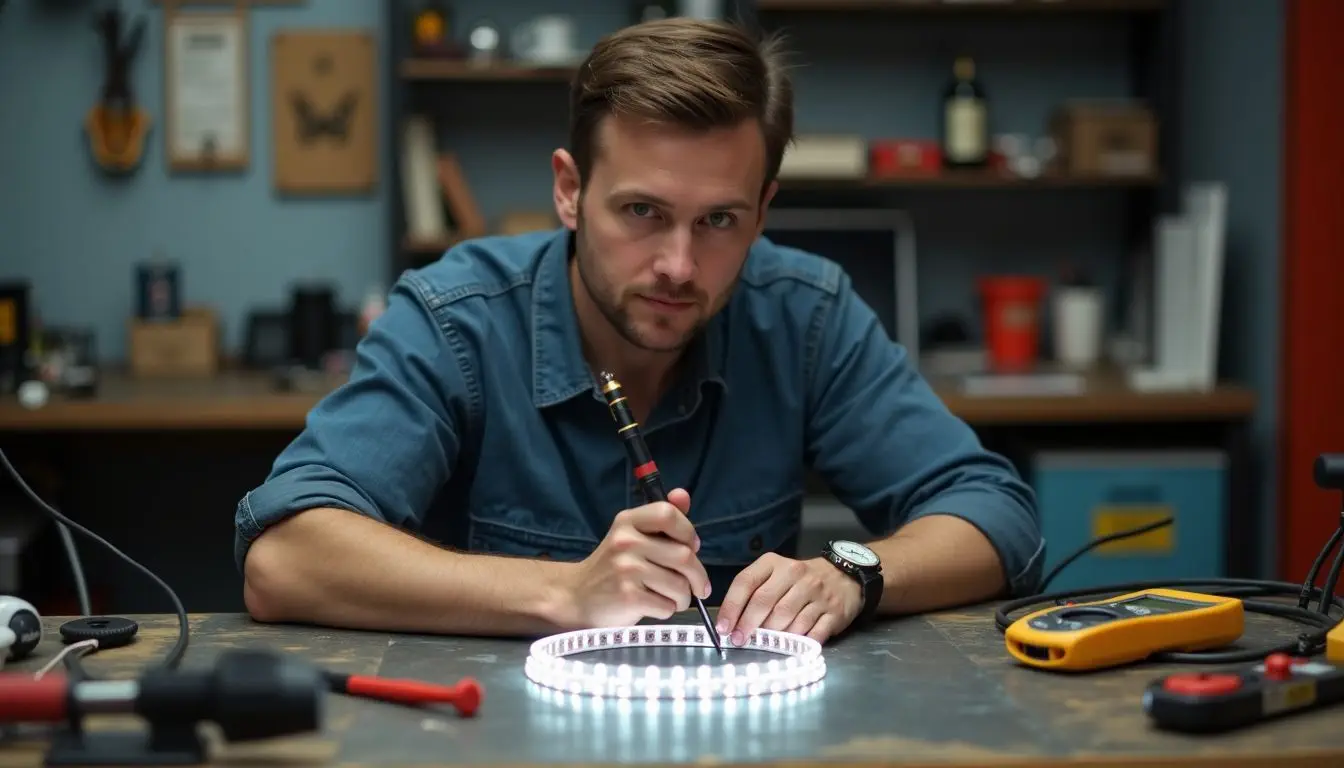
Soldering iron and solder
A soldering iron and solder are must-have tools for reconnecting LED strips. The iron heats up to melt solder, creating a strong bond between wires and strips. Pick a 30-watt iron for most LED work.
Rosin-core solder works best – it’s easy to use and cleans up well.
A good solder joint is bright and shiny, like a tiny silver bell.
Next, let’s look at the other tools you’ll need for this project.
Wire strippers and tin
Next up, you’ll need wire strippers and tin. These tools are key for prepping your LED strips. Wire strippers help you remove the outer coating from wires. You’ll strip about 1/4 inch (3-5 mm) of insulation off each wire end.
This exposes the metal inside, making it ready to connect.
Tin is crucial too. It’s not the metal you might think of, but a verb in this case. Tinning means coating stripped wire ends with solder. This step stops wires from fraying and makes joining them easier.
You can use a heat gun or lighter to melt the solder for tinning. These steps set you up for a strong, lasting connection between your LED strips.
Step-by-Step Guide to Reconnecting LED Strips
Ready to fix your LED strips? This guide shows you how. You’ll learn to solder and connect cut strips in four easy steps.
Measure and cut the LED strip
Grab your measuring tape and find the perfect spot for your LED strip. Mark the cutting points on the strip – they’re easy to spot. For 12V strips, you’ll see them every 3 LEDs. On 24V strips, they’re every 6 LEDs.
Double-check your measurements before you cut. This step is key to getting the right fit.
Now, it’s time to cut. Use sharp scissors to snip along the marked line. Make a clean, straight cut through the copper pads. This ensures a good connection later. Next, we’ll prep the strip for soldering.
Prepare the strip and tin the wiresMeasure twice, cut once – it’s the golden rule of LED strip installation.
Get your LED strip ready for action! Clean the copper pads with rubbing alcohol. This removes dirt and oils, helping the solder stick better. For waterproof strips, peel back the silicone cover to expose the pads.
Next, tin the wires. Cut two 2-3 inch pieces of wire. Strip the ends and add a small amount of solder to each. This makes joining the wires to the strip easier. Heat shrink tubing over the connection will protect it later.
Solder the wires to the LED strip
Now that you’ve prepped your strip and wires, it’s time to join them. Grab your soldering iron and get ready to connect.
Heat up your iron. Touch it to the positive pad on your LED strip. Add a tiny bit of solder. It should melt and form a shiny blob. Do the same for the negative pad. Next, line up your positive wire with the positive pad.
Touch the iron to both. The solder will melt, joining them. Repeat for the negative wire and pad. Let the joints cool for a minute. Check that they’re solid. No wiggling allowed! If needed, add a dab more solder.
Good connections mean bright, lasting lights.
Test and secure the connection
After soldering, it’s time to check your work. Plug your LED strip into a power supply. All LEDs should light up without flickering. If they don’t, double-check your connections. Look for loose wires or bad solder joints.
Fix any issues you find.
Once everything works, secure the connection. Wrap electrical tape around the soldered area. This protects it from damage and shorts. Your LED strip is now ready to use! You’ve just saved money by fixing it yourself.
How to Put Up LED Lights Without Ruining Paint
Putting up LED lights without damaging paint is easy with the right approach. Start by cleaning the wall surface with rubbing alcohol. This removes dirt and oils that could stop the lights from sticking well.
Next, use painter’s tape to mark where you’ll place the strips. This helps you plan the layout and avoid mistakes.
For the actual installation, peel off small sections of the adhesive backing at a time. Press the strip firmly against the wall as you go. Don’t pull off all the backing at once – this can lead to tangling and uneven placement.
If you need to remove the lights later, use a hairdryer to warm the adhesive. This softens it, making removal easier and less likely to peel paint.
Conclusion
You can easily reconnect LED strips with the right tools and steps. Your newly connected strips will illuminate your space exactly as you desire. Test your work and secure all connections.
Now go create some fantastic lighting designs in your home!
Check out our guide on how to put up LED lights without damaging your wall paint for more helpful tips.
FAQs
1. How do I connect two LED strips without connectors?
You can splice the strips together. Solder some wire between the cut ends. Use heat shrinking tube to cover the joint. This works for most light strips.
2. What gear do I need to join cut LED strips?
Get a soldering iron, solder, wire, and heat shrink tubing. These items are easy to find on Amazon. You’ll also need wire strippers and scissors.
3. Is it safe to reconnect LED strips myself?
Yes, if you’re careful. Check the voltage first. Make sure the strips match. Don’t mix different types. If you’re not sure, ask for help. Safety first!
4. Can I reuse LED strips I’ve cut?
Absolutely! Cut strips can be joined back together. Just match the right spots. Look for the copper pads. They show where to connect.
5. How long can my LED strip be after joining?
The total length depends on your power supply. Most can handle up to 16 feet (5 meters). Check your controller’s specs. Don’t overload it.
6. Will joining LED strips affect the light?
Not if done right. The light should look the same. Make sure your connections are solid. Bad joints can cause dim spots. Test as you go.
References
- https://www.lightsupplier.co.uk/blogs/lighting/a-simple-guide-to-connect-led-strip-lights-without-a-connector?srsltid=AfmBOop0tgeCz4fl2N8ryQqO-rO9kXi_G2_9rsSM_pJzI3ipnHeBMYWK
- https://besenledlight.com/connect-led-strips/
- https://www.lightsupplier.co.uk/blogs/lighting/a-simple-guide-to-connect-led-strip-lights-without-a-connector?srsltid=AfmBOoq05SE-5q1FaMMfNO2eTEOJE8XYs5rF060amsmeE-JVnowj4TTQ
- https://www.novostella.net/blogs/news/how-to-cut-light-strip?srsltid=AfmBOoqZEUiHVVSlaG-UFgGjd6q_fWO0W3lzNmronbKyn59V03gYmSW6
- https://www.linkedin.com/pulse/how-reconnect-cut-led-strip-without-connector-essenled-8e2cc
- https://www.lightsupplier.co.uk/blogs/lighting/a-simple-guide-to-connect-led-strip-lights-without-a-connector?srsltid=AfmBOoquzMbe744WpFRKSPWeeznnurDj5u6PBemU8VwOXrGzPFAvfjaK
- https://www.lightsupplier.co.uk/blogs/lighting/a-simple-guide-to-connect-led-strip-lights-without-a-connector?srsltid=AfmBOorv42rXPZsQWI1oCrMOfJaRO6L7G4JkFYEEvfo-bcGUv-MZXKni
- https://www.linkedin.com/pulse/3-easy-ways-reconnect-led-strip-lights-maisie-ou

