How to Work LED Light Remote: Easy Steps for Using LED Light Strips
Connecting Your LED Light Strips to the Remote

Connect Your Lights in a Flash
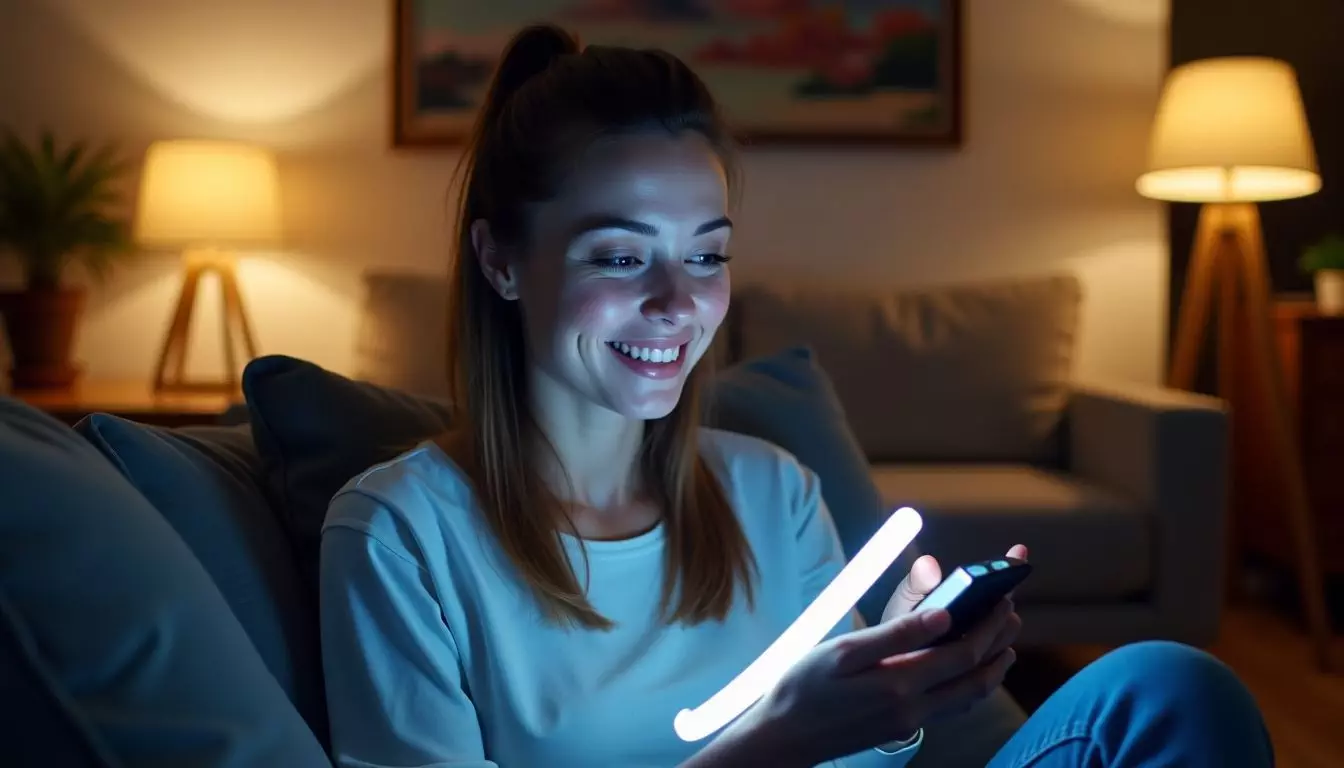
Linking your LED strips to the remote is quick and easy. You’ll need to pair them first, then you can start playing with colors and brightness.
Pairing the Remote with LED Strips
Pairing your LED remote with your light strips is easy. Follow these steps to get your lights working in no time.
- Press the receiver button for a few seconds until you see a light.
- Hold down the ON/OFF button on your remote until the receiver blinks.
- Check that your receiver matches your LED strip voltage – either 12V or 24V.
- Aim your remote at the receiver and hit the sync button to link them up.
- Test the connection by trying different buttons within 5-10 meters of the receiver.
- Put in a new CR2025 battery if your remote isn’t working right.
- Make sure nothing blocks the signal between your remote and receiver.
- Try resetting both devices if you still have trouble pairing them.
Basic Functions of LED Light Remote
Learn how to turn on, change colors, and adjust brightness with your LED remote. Read on to master these key functions and light up your space like a pro!
Turning On/Off
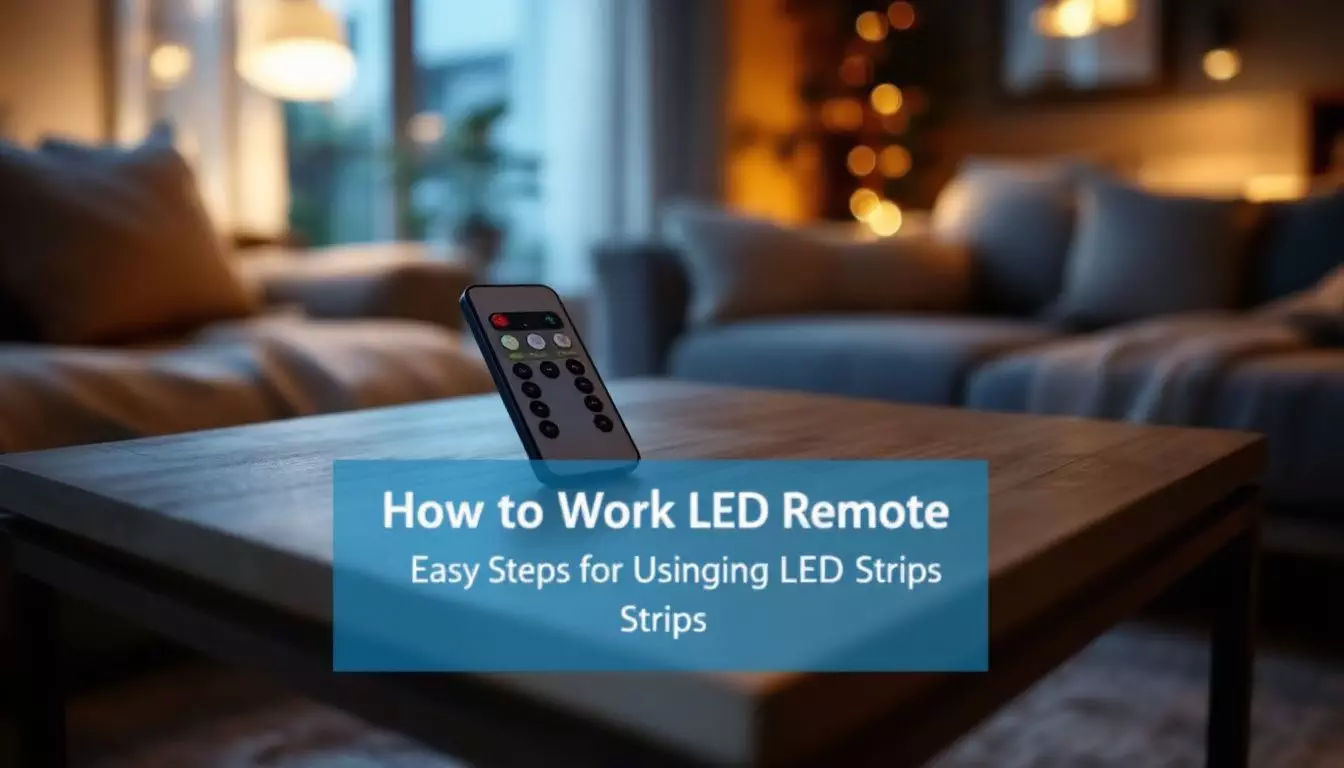
Controlling your LED strip lights is straightforward. Simply use your remote and press the ON/OFF button. This button serves dual purposes – managing power and adjusting brightness.
For smart LED strips, you can utilize a mobile app or voice commands through devices like Amazon Echo. If you don’t have a remote, many strips feature a power button directly on the controller.
Experiencing problems? Stay calm. Occasionally, the remote may malfunction if you press OFF excessively. Try replacing the battery – it frequently resolves the issue. As someone experienced in DIY projects, I’ve observed this solution work effectively for many people.
A functional remote provides easy control of your lights with minimal effort.
Adjusting Brightness and Color
LED light remotes offer easy ways to change brightness and color. You can create the perfect mood with a few button presses.
- Press the (+) button to make lights brighter or (–) to dim them.
- Use the BRIGHTNESS function to fine-tune light intensity.
- Pick from preset colors or create custom shades with the remote.
- Try FADE3 or FADE7 for smooth color transitions.
- STATIC MODE keeps one color steady without changing.
- Save up to six custom colors in DIY MODE for quick access.
- Adjust white light from warm to cool tones.
- Explore millions of color options with RGB controls.
- Use voice commands if your strip connects to WiFi.
- Experiment with different modes to find your favorite lighting effects.
Next, we’ll look at how to solder LED strips for custom projects.
Additional Customizations and Enhancements
Want to take your LED lights to the next level? You can solder strips for custom projects. This lets you create unique shapes and designs. Read on to learn how!
How to Solder LED Light Strips for Custom Projects
Soldering LED light strips lets you create custom lighting projects. Here’s how to do it safely and effectively:
- Gather your tools: soldering iron, wire cutters, and solder.
- Practice on scrap wire before starting your project.
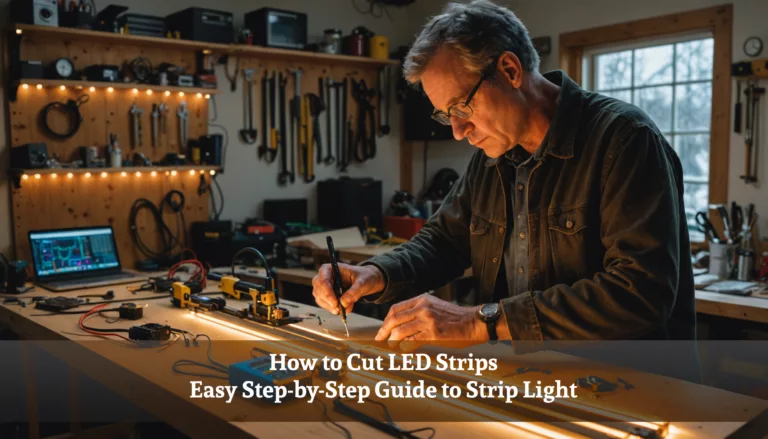
- Cut your LED strips to the desired length.
- Expose the solder pads on both ends of the strips.
- Clean the solder pads with rubbing alcohol.
- Heat up your soldering iron to the right temperature.
- Apply a small amount of solder to the iron’s tip.
- Touch the iron to the solder pad and add more solder.
- Join the strips by dragging molten solder between the pads.
- Let the solder cool and harden before moving the strip.
- Test your connection with a power source.
- Cover the soldered joint with heat shrink tubing for protection.
- Use a heavy object to hold the strip flat while soldering.
- Work in a well-ventilated area to avoid fumes.
- Wear safety glasses to protect your eyes from solder splatter.
Now that you know how to solder LED strips, let’s look at some common issues you might face.
Troubleshooting Common Issues
LED remotes can act up. You might face signal issues or need to swap batteries.
Signal Interference and Battery ReplacementSignal issues and dead batteries can stop your LED lights from working. Here’s how to fix these common problems:
- Check for nearby devices that might cause interference. Move WiFi routers, cordless phones, or other electronics away from your LED setup.
- Replace old batteries with fresh CR2025 coin cells. Clean the battery contacts with rubbing alcohol before inserting new ones.
- Make sure you’re within 5-10 meters of your lights when using the remote. Walls and objects can block the signal.
- Insert batteries correctly. The + side should face up in most remotes.
- Look for damage to the remote. A cracked case or water damage may require a new remote from the maker.
- Try moving closer to the LED strip if buttons aren’t working. The signal may be weak at long distances.
- Remove any objects blocking the remote sensor on the LED controller box.
- Test the remote in a dark room. Bright light can interfere with the infrared signal.
- Check that the remote and LED strip are from the same brand. Different brands may not work together.
- Contact the manufacturer if you still have issues. The remote chip may need replacing.
Conclusion
LED light remotes make your home glow. You can change colors and set moods with ease. These tools open up a world of lighting fun. Master your remote, and you’ll transform any room.
Get creative and enjoy your new LED light strips!
FAQs
1. How do I use the remote for my LED light strips?
First, verify the remote works. Point it at the strip light. Press buttons to change colors. Use arrow buttons for brightness. Try different modes like strobe or jump.
2. Can I control LED lights without a remote?
Yes! Use voice control with Alexa or Google Home. Or try app control on your phone. Some lights have buttons on the strip too.
3. What if my LED remote isn’t working?
Check the batteries. Make sure nothing blocks the signal. Stay close to the lights. If it still fails, contact after-sales service for help.
4. How many colors can LED strips make?
Many LED strips offer 16 million colors! You can pick from a huge color palette. Mix red, green, and blue to make any shade you want.
5. Can I set a timer on my LED lights?
Most remotes have a timer button. Press it to set how long the lights stay on. This is great for saving power or creating the perfect mood.
6. Are LED strip lights cost-effective?
Yes! LEDs use less power than regular bulbs. They last longer too. You can customize your space cheaply with these lights.
References
- https://www.aspectled.com/blog/post/how-to-pair-a-remote-controller-to-an-led-controller/?srsltid=AfmBOop0_COdL78asPsCtUV3UkdqXaw73kzf4ywfLAsMnkISt69PnYyF
- https://www.lepro.com/learning/remote-control-led-strip-lights/?srsltid=AfmBOoqOJC1-tbzgW4g9WtIPr4nlbpoKWoPM8yZApdqOpWOLyqvVS7p7 (2020-07-17)
- https://www.lepro.com/learning/remote-control-led-strip-lights/?srsltid=AfmBOopVQNntH0kHwtnBwylWeG5jrJ8NTb0CiGyr3YPRNOWZ0xedeOv2 (2020-07-17)
- https://sirs-e.com/general/solder-led-strips/ (2023-05-11)
- https://www.aidot.com/blog/post/why-isnt-my-led-lights-remote-working?srsltid=AfmBOop9XVojq3r3o3YGzFd3NXiaJEeQzDBcNHsJga5rv7goToT9OeC9 (2024-01-16)
- https://sonicelectric.com/blogs/news/why-your-led-strip-lights-arent-working-a-troubleshooting-guide?srsltid=AfmBOopC5tHgdPOraNQLvDLd_l3aj5SFfotYiteZjj-BabDQziowLboj


